Elevate Your Smart Home Experience: The Art of Dashboard Customization
Introduction: The Importance of Aesthetics in Home Automation
In the realm of home automation, functionality meets finesse when smart design elements like fonts and layouts are carefully selected. As an enthusiast and host at yoyoTech, I recently embarked on a transformative journey to revamp my entire home automation system. My goal? To create dashboards that are not only functional but visually appealing, enhancing the interaction with devices throughout the home. This venture centered around one particularly stellar device: the Google Pixel Tablet.
Creating the Perfect Dashboard
Looking for the tablet used in this video, its the perfect option for home assistant. Its of course the Google Pixel Tablet – check out this affiliate link to help yoyoTech grow.
Step 1: Choosing the Right Layout
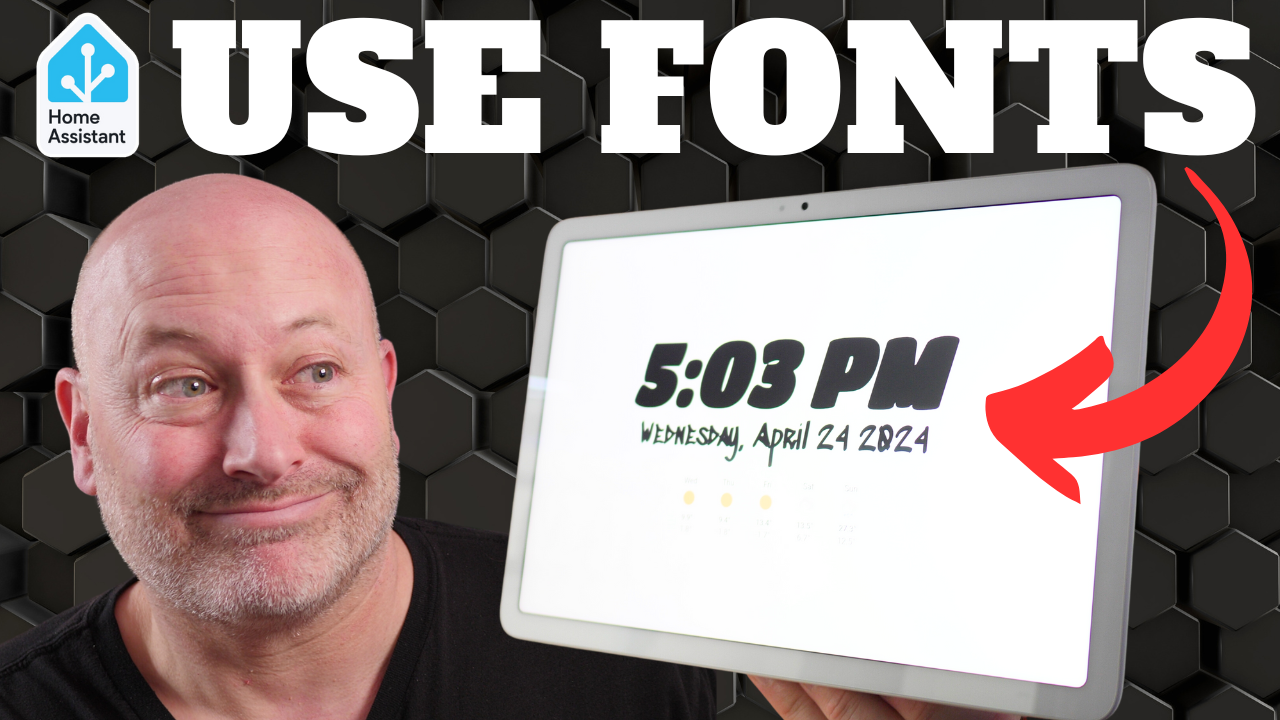
For any effective dashboard, organization is key. I started by designing a new dashboard for my living room, where clarity and accessibility are paramount. The panel card layout was chosen for its sleek, organized appearance, which makes viewing essential information like time and date both effortless and elegant.
Step 2: The Power of Fonts
The fonts on a dashboard do more than convey information; they set the tone and style of the interface. To inject personality and style into the dashboard displayed on the Google Pixel Tablet, I turned to a trusted resource — Google Fonts. This platform offers a plethora of font styles, allowing for a tailored aesthetic that complements the modern vibe of any smart home.
Implementing Stylish Fonts with Google Fonts
Finding the Perfect Font
The selection process at Google Fonts is intuitive and inspiring. For my project, I chose ‘Titan One’ for its clean and contemporary feel. This font not only enhances readability but also elevates the overall look of the dashboard.
Integrating the Font into Home Assistant
Adding the new font involved embedding it directly into the Home Assistant dashboard. This was done by linking to the font URL provided by Google Fonts in the dashboard’s resource settings. Applying the font then involved tweaking the CSS settings to update elements like the date and time display, which brought an immediate upgrade to the visual appeal on the Google Pixel Tablet.
Enhancing Tablet Functionality with Fully Kiosk Browser
Responsive Interaction
To make the most of the Google Pixel Tablet within the home automation setup, I employed the Fully Kiosk Browser. This tool is invaluable for its motion detection features, which activate the tablet when motion is detected, adjusting the displayed dashboard according to the room’s activity, and reverting to the default view when not in use.
The Final Touch: Visual and Functional Refinement
With the fonts and layout set, the final step was to fine-tune the aesthetics and functionality. Adjustments to the spacing and alignment ensured that everything looked perfect on the tablet display. This meticulous attention to detail resulted in a dashboard that was not only a control panel but a piece of digital art.
Ready for More?
This project is just the beginning. If you’re intrigued by the potential of smart home customization or interested in a detailed walkthrough of this setup, keep an eye on my upcoming videos at yoyoTech. We’ll dive deeper into customization techniques for various devices and explore new ways to enhance your home automation experience.
Conclusion: A Blend of Beauty and Brain
This journey through dashboard customization demonstrates that the right choice of fonts and layout can profoundly impact the usability and aesthetic of your smart home interface. By prioritizing both form and function, you can create a smart home environment that is not just smart but sophisticated. Join me as we continue to explore the intersection of technology and design, making our smart homes not only more functional but also more beautiful.
Complete YAML code if you would like to cut and paste and try it out!
type: custom:button-card
show_state: true
tap_action:
  action: none
custom_fields:
  weather:
    card:
      show_current: false
      show_forecast: true
      type: weather-forecast
      entity: weather.thermostat
      forecast_type: daily
      card_mod:
        style: |
          ha-card {
            border: thick;
            background-color: transparent;
            width: 500px;
            text-align: center;
          }
  time_date:
    card:
      type: custom:mushroom-template-card
      primary: '{{now().strftime("%-I:%M %p")}}'
      secondary: '{{now().strftime("%A, %B %d %Y")}}'
      multiline_secondary: false
      icon: ''
      card_mod:
        style:
          mushroom-state-info$: |
            .primary {
              font-weight: Bold !important;
              font-style: italic;
              font-size: 178px !important;
              font-family: 'Titan One', sans-serif;
              position: relative;
              overflow: visible !important;
              top: 10px;
              left: 0px;
              width: 800px;
              text-align: center;
            }
            .secondary {
              font-weight: Bold !important;
              font-size: 62px !important;
              font-family: "Sedgwick Ave Display";
              position: relative;
              overflow: visible !important;
              top: 120px;
              left: 10px;
              width: 800px;
              text-aligh: center;
            }
          .: |
            ha-card {
              border: thick;
              background-color: transparent;
            }
styles:
  card:
    - padding: 0px
    - align-self: start
    - width: 1280px
    - height: 800px
    - opacity: 1
    - background-color: transparent
  custom_fields:
    time_date:
      - position: absolute
      - top: 260px
      - left: 200px
      - width: 300px
      - height: 110px
    weather:
      - position: absolute
      - top: 490px
      - left: 370px
      - width: 300px
      - height: 110px