

An IPTV channel list is really just a text file—usually with an M3U extension—that's packed with links to live television streams from all over the internet. When you pull that list into a smart home platform like Home Assistant, you stop just passively watching TV and start creating a truly interactive and automated media experience.
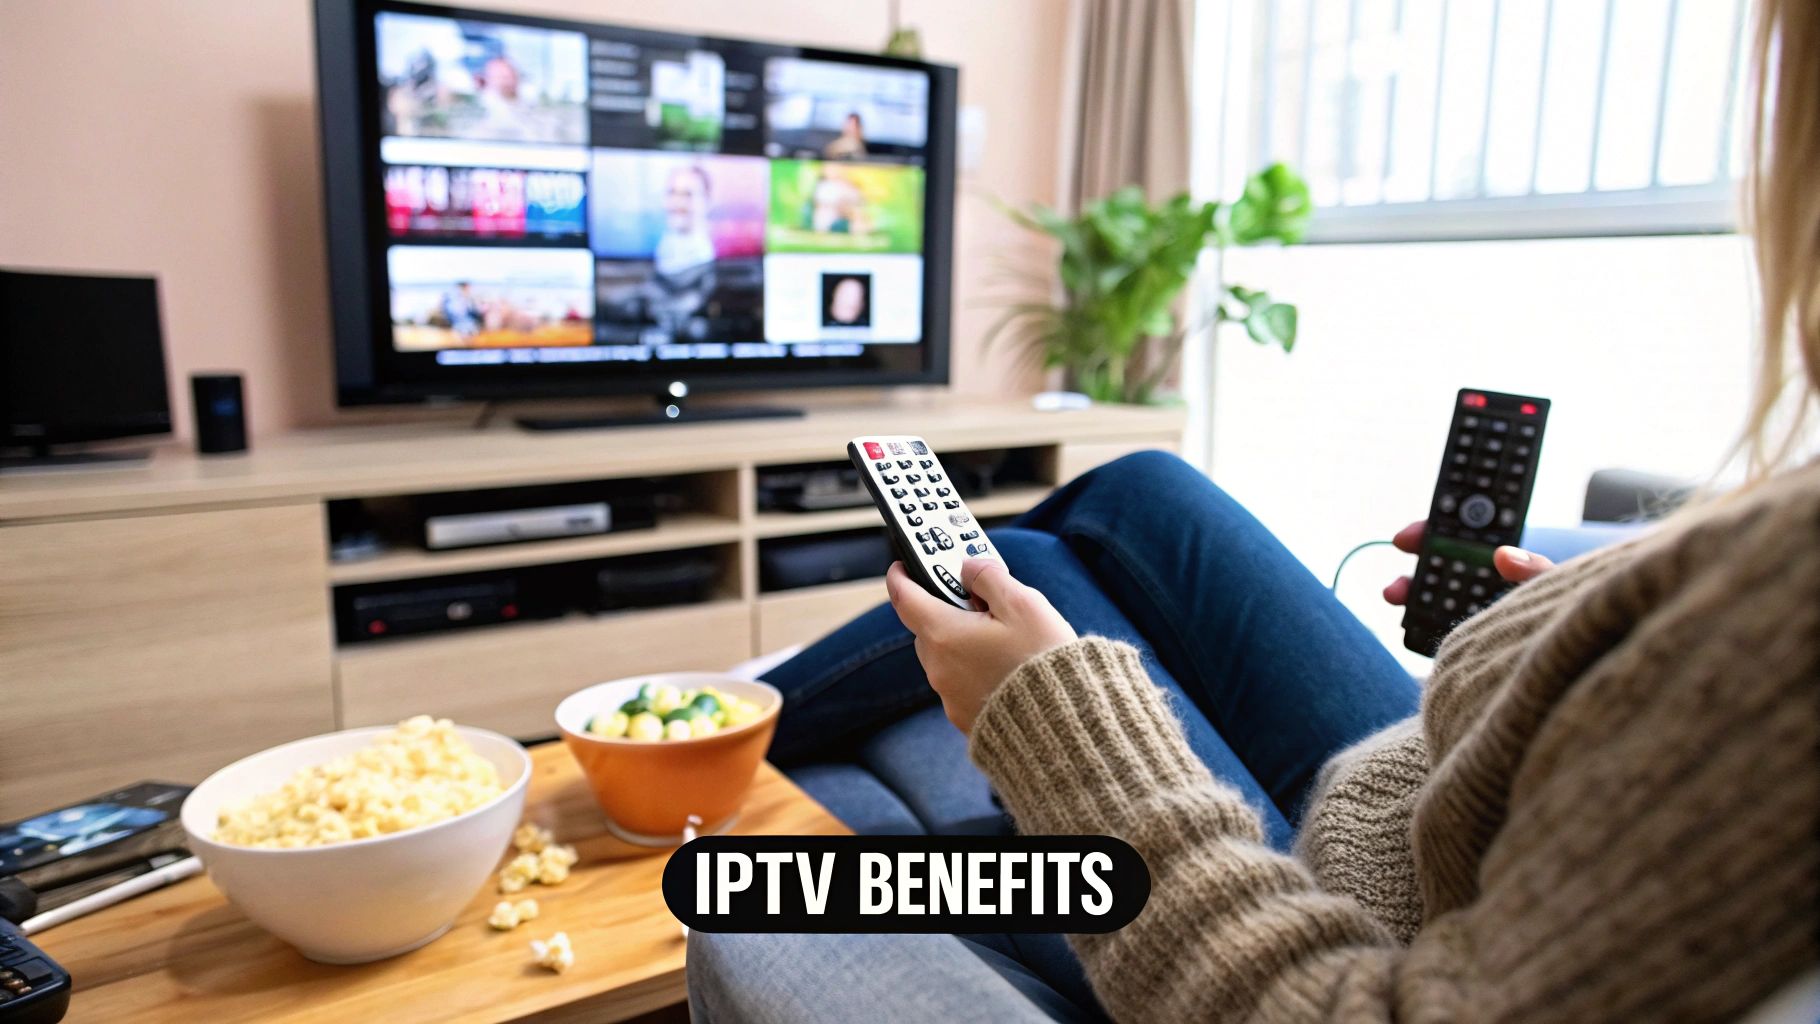
Your Smart Home Deserves a Better TV Guide

It’s time to ditch the pile of clunky remotes and the endless switching between apps. Imagine managing your entire TV experience right from the same dashboard that controls your lights and security. This guide is all about weaving your IPTV channel list directly into the fabric of your automated home using Home Assistant.
This integration unlocks some amazing possibilities that go way beyond just changing the channel. You can build automations where your home actually reacts to what you're watching. Picture a 'Movie Night' scene that doesn't just switch to the right channel, but also dims the lights and tweaks the thermostat—all from a single tap.
Why Bother Integrating TV into Your Smart Home?
As the creator here at yoyoKnows, I’ve seen firsthand how this one integration can elevate a smart home from a neat utility into a full-blown media powerhouse. A central home automation control panel becomes the true command center for everything, and that absolutely should include your entertainment. The real goal is to build a seamless, personalized TV guide that your whole family will actually want to use.
The sheer variety of IPTV services available today is staggering. Some of the premium providers boast lineups with over 30,000 channels in high definition, covering countless countries. To get a sense of the scale, you can find details on these global channel lists online. Trying to navigate that massive selection is exactly why a custom dashboard isn't just a luxury—it's essential.
This guide will walk you through setting up a visually impressive and highly practical TV dashboard. My tool of choice for this is Dashable, which you can find at https://dashable.app. I use it for all my Home Assistant setups to create amazing dashboards. By the time we're done, we'll have turned a basic IPTV channel list into the interactive heart of your living room.
My philosophy is straightforward: if a device is in my house, it should be connected to my smart home. Your TV is probably the most-used screen in your home, so leaving it out of your automations is a huge missed opportunity for both convenience and a bit of fun.
Finding and Prepping Your IPTV Channel List
This whole project hinges on one thing: a solid M3U playlist file. Think of it as the blueprint for your IPTV setup. The quality of this file will make or break your entire experience, so the first step is always to get a stable and, most importantly, legal M3U file from a reputable provider.
You’ll find that not all channel lists are built the same. While you might see a few different formats, the ones you'll run into most are M3U and M3U_plus. I always steer people toward providers offering the M3U_plus format. Why? It packs in extra metadata that is absolutely essential for building a top-tier setup.
This extra data is what brings your dashboard to life. A basic list just gives you streams, but for a polished interface in a tool like Dashable, you need a list that's rich with information.
My Vetting Checklist for Providers
Before I commit to any IPTV service, I run it through a quick personal checklist. This little bit of due diligence saves me a ton of headaches later and makes sure the provider's channel list is actually usable.
- Channel Logos (
tvg-logo): Does the M3U file have direct links to channel logos? This is non-negotiable if you want a dashboard that’s easy to look at and even easier to use. - Electronic Program Guide (EPG): Any good provider will give you a separate URL for an EPG, typically in an XMLTV format. This is the data that populates your TV guide, showing what’s on now and what’s up next.
- Stream Quality: I can't stress this enough—if they offer a free trial, take it. It’s the only real way to check for annoying buffering, see if channels work during primetime, and get a feel for the server's stability.
I’ve seen it happen a hundred times: someone sets everything up perfectly, but their EPG data doesn't line up with the channels. It's a frustrating mess. Picking a provider with a reliable, frequently updated EPG is just as crucial as the streams themselves.
Prepping Your List for Home Assistant
Once you’ve got your M3U file, don't just dump it into Home Assistant. A little prep work here will pay off massively. Most providers cram thousands of channels into their lists, and let's be honest, you're not going to watch 95% of them. A bloated list just bogs down Home Assistant and makes your dashboard a cluttered nightmare.
I always open the file in a text editor first and do a bit of house-cleaning. It's easy enough to just delete entire sections or individual channels you know you'll never touch. If you want to get more advanced, there are plenty of online M3U editors that make this even simpler. For a deeper dive, our guide on how to create M3U playlists is a fantastic resource for getting your hands dirty with manual editing.
Trust me, taking 20 minutes to curate your list now will save you hours of troubleshooting and frustration down the road. A clean, focused list makes for a much smoother integration and a way more enjoyable dashboard in the end.
Bringing Your IPTV Channels into Home Assistant
Alright, with your polished M3U file in hand, this is where the real fun begins. We're about to plug your IPTV channel list directly into Home Assistant, which will essentially treat every single TV channel as its own smart device. Think of this step as building the bridge between a simple playlist and a fully interactive smart media setup. We'll use the native 'IPTV' integration, which is surprisingly straightforward to configure with a bit of YAML.
This process takes those long, clunky stream URLs and converts them into clean media_player entities inside Home Assistant. Each channel gets its own entity, letting you play, stop, and select it just like you would a smart light or a thermostat. This is the secret sauce that unlocks all the potential for slick automations and, of course, a killer TV dashboard in Dashable.
If you're still on the hunt for a provider, choosing the right one is key. You've got to balance channel variety, streaming reliability, and price to get a setup that doesn't cause headaches later.
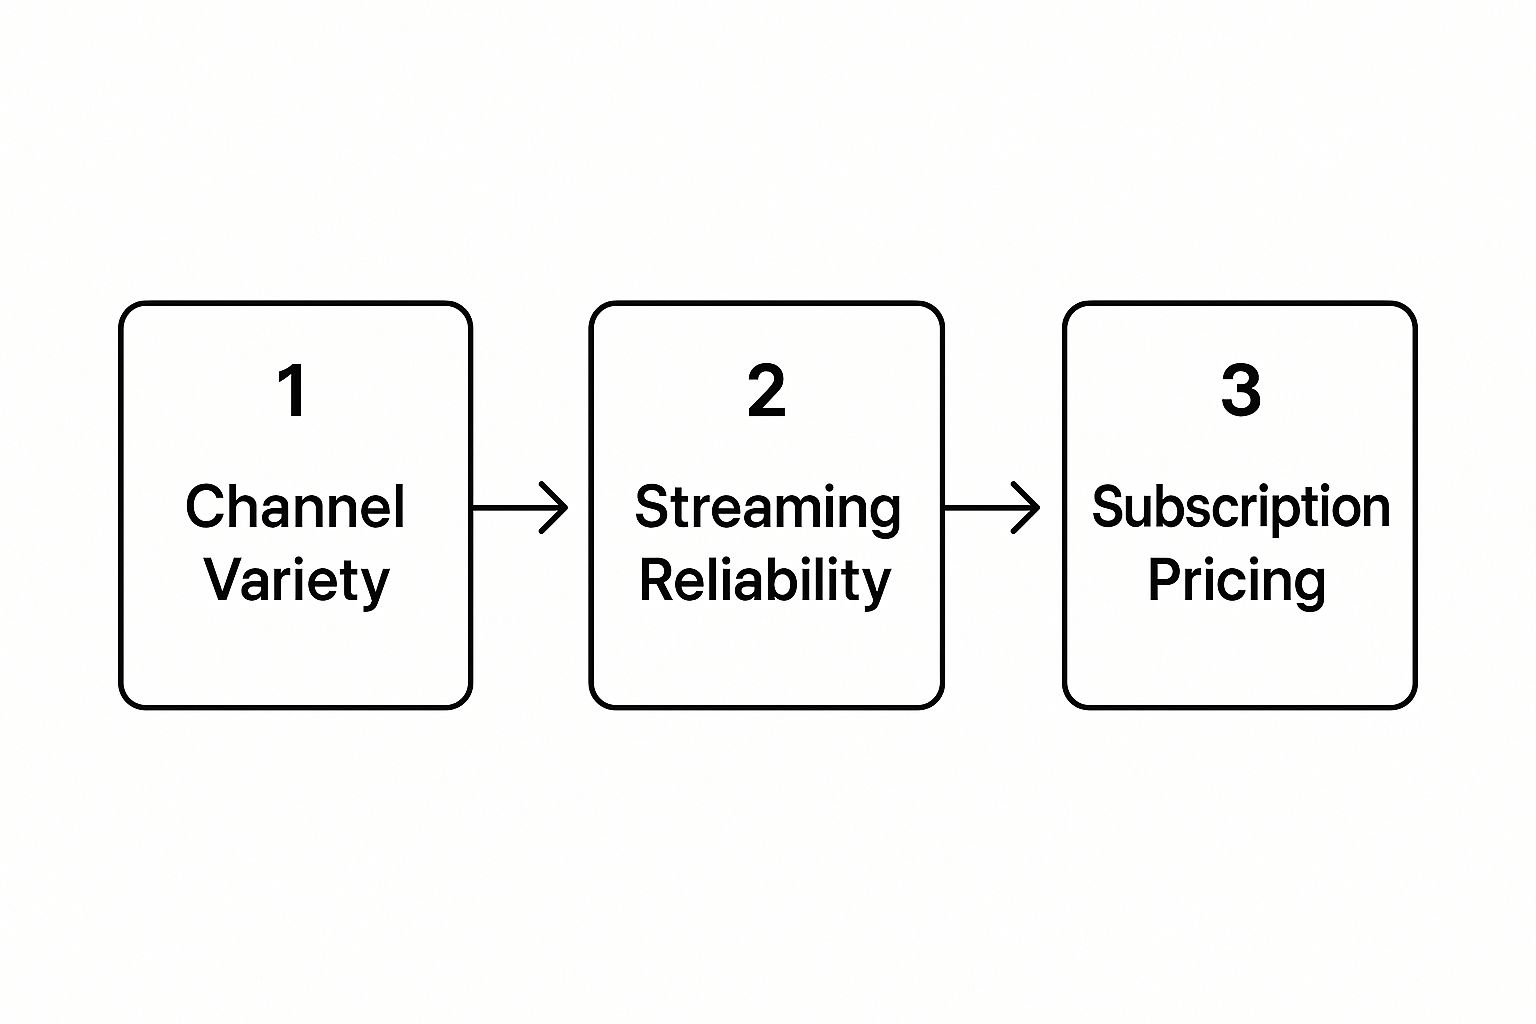
As you can see, if any one of these factors is off—say, you have a ton of channels but they're constantly buffering—the whole experience falls apart.
The IPTV Integration YAML
First things first, you'll need to pop open your main configuration.yaml file in Home Assistant. This is where we'll tell the system where to find your M3U playlist and, just as importantly, your EPG data.
Here's the basic snippet you'll need to add:
iptv:
platform: ffmpeg
m3u_url: "YOUR_M3U_URL_HERE"
epg_url: "YOUR_EPG_URL_HERE"
Let's quickly go over what each line does:
platform: ffmpeg: This tells Home Assistant to use the FFmpeg media framework. It's a powerhouse for handling all sorts of video streams and gives you the best compatibility.m3u_url: This is the direct link to the M3U playlist file you got from your provider.epg_url: This points to your Electronic Program Guide, which pulls in all that crucial "what's on now and next" data for each channel.
Now, a quick tip. Some IPTV providers are a bit picky and require a specific user-agent to grant access to their streams. It's a simple way they verify requests are coming from a legitimate player. If your provider mentions one, you can easily add it to your configuration like this:
iptv:
platform: ffmpeg
m3u_url: "YOUR_M3U_URL_HERE"
epg_url: "YOUR_EPG_URL_HERE"
user_agent: "VLC/3.0.0" # A common example
Once you've added this code, save your configuration.yaml file and give Home Assistant a restart.
A Quick Tip From My Own Mistakes: Don't even think about skipping the EPG URL. A super common problem I see people run into is having working streams but no guide data, which makes browsing channels a nightmare. The forums are full of people troubleshooting guide issues that usually trace back to a bad EPG link. Double-check that URL!
Check Your Work: Finding the New Entities
After Home Assistant comes back online, it's time for the moment of truth. The system should have automatically read your M3U file and created a whole new set of entities.
To see them, just head over to Settings > Devices & Services > Entities in your Home Assistant dashboard.
In the search bar, type media_player and hit enter. If everything went according to plan, you should see a long list of your TV channels, all nicely named and ready to go. They’ll be named based on the channel titles from your M3U file.
Seeing all your channels listed as individual media_player entities is the final confirmation. The integration worked, and your TV channels are now officially part of your smart home. Now we're ready for the best part—building an awesome control dashboard.
Designing Your Ultimate TV Dashboard in Dashable
Alright, the heavy lifting is done. Your IPTV channels are now live inside Home Assistant as media_player entities, which means the technical foundation is solid. Now for the fun part: building an interface you'll actually want to use.
This is where a dedicated dashboard tool like Dashable really shines. We're not just aiming to make a functional remote; we're crafting a polished, intuitive experience that the whole family can pick up and use instantly. Think of a sleek tablet on the coffee table that feels like a premium piece of tech, not a clunky DIY project.
The goal is to transform that backend list of entities into something beautiful and responsive. If you're wondering where the best spot for a dashboard like this is, our guide on perfectly positioned dashboards for your smart home has some great ideas on placement and ergonomics.
Starting With The Core Components
First things first, let's get the absolute essentials on the screen. Any good TV remote needs to show you what’s currently playing. It sounds obvious, but it’s the anchor for the entire dashboard.
I always start by dropping in a media player widget and tying it to the media_player entity for my main TV. Instantly, you get a live preview of the active channel, along with the basic play, pause, and volume controls you’d expect. It’s a quick win and provides immediate visual feedback.
Next up is the heart of our remote: the channel grid. Scrolling through a long, text-based list of entities is nobody's idea of a good time. We’re going to build a dynamic grid of buttons, each proudly displaying a channel logo from your IPTV channel list.
My personal process always starts with the visuals. A dashboard with clear, recognizable channel logos is infinitely more usable than one with just text. It’s the difference between a functional-but-ugly tool and a professional-looking interface.
Building The Interactive Channel Grid
This is where the magic happens. Each button in our grid will do more than just look pretty—it’s going to trigger a service call in Home Assistant. We'll be using the media_player.play_media service to do the work.
Here’s the simple breakdown of how it works for each channel:
- Add a Button: Drop a new button widget onto your Dashable layout.
- Set the Action: Configure the button's tap action to call the
media_player.play_mediaservice. - Pick a Target: Point the service call to your main TV’s media player entity.
- Define the Content: This is the key part. In the
content_idfield, enter the exact entity ID for the IPTV channel you want to play (e.g.,media_player.espn_hd).
When you tap that button, Dashable tells Home Assistant, "Hey, play the ESPN HD channel on the main TV," and it just works. It’s snappy, satisfying, and incredibly powerful. Just repeat this for all your favorite channels and arrange them in a grid that makes sense for you.
With over 250 million subscribers worldwide, the IPTV market is massive, and that user base is driving innovation. People expect a clean interface to navigate the thousands of channels available, which is exactly what we're building. For a deeper dive into the market, check out the latest IPTV market share data.
Adding The Finishing Polish
Once the basic grid is in place, you can start layering in more advanced features to elevate the dashboard. This is where Dashable’s flexibility really pays off. Instead of cramming every single channel onto one screen, you can create different views or tabs to keep things organized.
Here are a few ideas I’ve used in my own setup:
- Categorized Views: I have separate tabs for 'Movies', 'Sports', 'News', and 'Kids'. It makes finding a channel from a massive IPTV channel list so much faster.
- EPG Data: A simple Markdown or text widget can display Electronic Program Guide (EPG) data from a Home Assistant sensor, showing what's currently on.
- Dedicated Volume Sliders: While the main media player has volume buttons, I find that adding a dedicated slider widget makes for quicker, more precise adjustments.
Below is a quick reference table breaking down the essential Dashable widgets you'll need to create this TV remote experience.
Essential Dashable Widgets for Your TV Dashboard
| Widget Type | Home Assistant Entity | Functionality | yoyoKnows Pro Tip |
|---|---|---|---|
| Media Player | Your main TV's media_player |
Shows what's currently playing, basic transport controls (play/pause), and volume. | Position this at the top of your dashboard for at-a-glance status. It's the visual anchor. |
| Button | The target channel's media_player |
Calls the media_player.play_media service to instantly switch to a specific channel. |
Use official channel logos for the button icons. This makes the grid scannable and user-friendly. |
| Slider | Your TV's media_player volume attribute |
Provides a smooth, draggable slider for fine-grained volume control. | Place sliders for volume and brightness (if applicable) in a consistent spot on every dashboard view. |
| Tabs / Views | N/A | Organizes your channel buttons into logical groups like 'Sports' or 'Movies'. | Don't overdo it. Start with 3-4 main categories to avoid clutter and keep navigation simple. |
By combining these simple but powerful elements, you can easily go from a basic channel list to a sophisticated remote control that looks fantastic and is a genuine pleasure to use on any screen.
Unlocking Smart Automations for Your TV
https://www.youtube.com/embed/tmJCHL5csaA
Getting your IPTV channels into Home Assistant isn't just about making a cool remote. This is where the magic really happens. With your channels now recognized as individual entities, you can weave them into powerful automations that truly elevate your media experience. This is the step that makes your smart home feel less like a pile of gadgets and more like a helpful, intuitive system.
Think about creating a 'Movie Time' scene. With one tap on your Dashable dashboard, Home Assistant doesn't just tune to your favorite movie channel. It can also dim your smart lights down to a cozy 20%, set the thermostat just right, and maybe even send a quick announcement to the family that the movie is starting. That kind of seamless coordination is what a smart home is all about.
Pro Tips for Advanced Control
Once you get the basics down, you can start getting really creative. Home Assistant scripts open up a world of possibilities for replicating—and even improving upon—the classic TV experience. For example, I have a simple script that 'channel surfs' through my top ten favorite channels, switching every few seconds. It’s a great way to see what's on without having to mash the remote buttons.
Template sensors are another powerful tool in your arsenal. You can set one up to grab the media_title attribute from your main TV's media player. This lets you display the currently playing show or movie title anywhere you want, like on a tablet running your Dashable dashboard, giving you a quick, at-a-glance update.
You'll almost certainly run into stream buffering at some point—it can be incredibly frustrating. While Home Assistant is what kicks off the stream, the buffering itself is usually a network problem. A simple first step is to make sure your Home Assistant server has a wired Ethernet connection. Wi-Fi can introduce just enough latency to make IPTV streams unstable.
Optimizing for Stream Quality
As you build out these automations, don't forget about the quality of the streams themselves. IPTV services are constantly evolving, with some pioneering ultra-high-definition content that goes beyond 4K to support 8K resolution on certain channels. The best providers now offer massive global libraries with over 15,000 live channels and more than 60,000 on-demand titles, easily dwarfing what you'd get from a traditional cable. If you're curious, you can learn more about these emerging 8K IPTV providers and their offerings.
To get a smooth picture, especially with that higher-resolution content, your home network needs to be solid. A great trick is to use your router's Quality of Service (QoS) settings to prioritize network traffic to your streaming device. When you combine smart automations with a stable, high-quality stream, you end up with a home entertainment system that's both powerful and reliable.
Common Questions Answered
Whenever you're integrating something new into your smart home, a few questions are bound to pop up. Let's tackle some of the most common ones I hear from the yoyoKnows community about adding IPTV to Home Assistant. Getting these cleared up now will save you a lot of headaches later.
Legality and Buffering Concerns
Is it actually legal to use an IPTV channel list in Home Assistant?
This is a big one, and the answer comes down to one thing: the source of your channel list. If you’re pulling from a legitimate, paid subscription service you personally pay for, you're generally in the clear for personal use. It’s no different than logging into that service's app.
The trouble starts with those free M3U playlists you can find floating around the internet. Many of them are distributing copyrighted content without a license. My advice? Always stick to a provider you can verify and trust. It’s the only way to be sure you're on the right side of the law.
My IPTV streams keep buffering. Can this setup help with that?
I get this question a lot. The short answer is no—your Home Assistant setup is just acting as a fancy remote control. It sends the command to start the stream, but it doesn't process the video itself.
Buffering almost always boils down to one of 3 things:
- A slow or unstable internet connection.
- The IPTV provider's servers are overloaded or having issues.
- The device actually playing the stream (your TV, Chromecast, etc.) can't keep up.
To figure out what’s going on, try testing the stream in a different app (like VLC) or on another device. If it buffers everywhere, the problem is likely your internet or the provider. If it only buffers on one device, that device is the bottleneck.
Dashboard and Family Use
Can my family use the TV dashboard I create?
Absolutely! And honestly, this is where the whole project really shines. Once you’ve built your TV control panel in Dashable, you can just share the direct link with your family.
They can pull it up on their phones, a dedicated wall-mounted tablet, or even just a cheap tablet you leave on the coffee table. It just works.
This is a total game-changer for making your smart home family-friendly. It gives everyone a simple, safe way to control the TV without ever needing to touch your core Home Assistant settings. It keeps things easy for them and secure for you.
Think of it as handing them the world's most powerful remote control, but with an interface so simple anyone can use it. No tech support calls from the family. That’s the goal, right?
Ready to build a dashboard that's as smart and polished as the rest of your home? Dashable is the tool I use to create all my custom smart home interfaces, turning complex backends into simple, beautiful controls. Get started and design your dream dashboard today at https://dashable.app.


