

Getting your Raspberry Pi connected to Wi-Fi is the gateway to all the cool stuff you want to do, especially with smart home automation. You've got a couple of ways to tackle this: using the familiar desktop interface if you have a monitor hooked up, or tweaking a configuration file for a "headless" setup.
A headless approach is my go-to for devices that will be tucked away, letting the Pi automatically jump onto my network the moment it powers on. Either way, the goal is to get your Pi online fast and reliably, so you can start building amazing things like a beautiful smart home dashboard with Dashable.
Connecting Your Raspberry Pi The Right Way
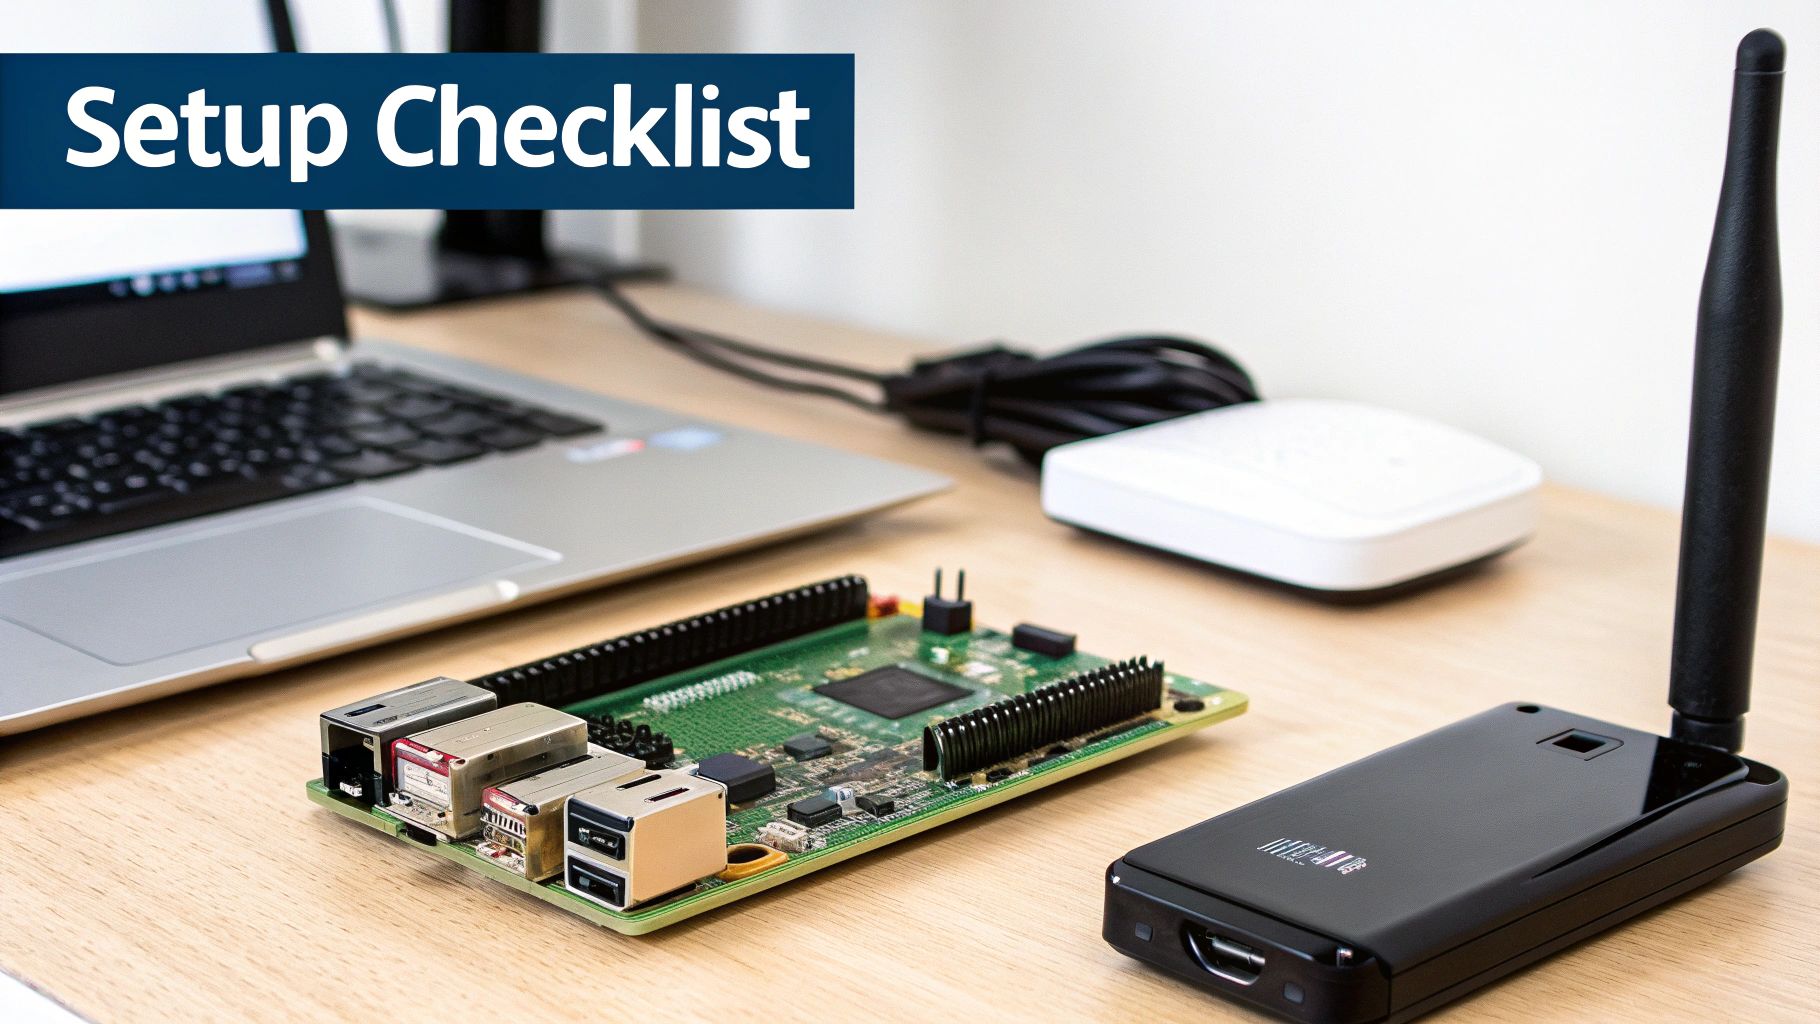
Let's cut to the chase and get your Raspberry Pi on the network. As yoyoKnows, I've set up dozens of these little computers for everything from simple sensors to full-blown smart home hubs, so this guide is built on real-world experience, not just theory.
A rock-solid connection is everything for a smart home you can actually depend on, particularly when you're feeding data into a custom dashboard. For my own setup, I have Pis running my Home Assistant server, and all that data gets visualized on some incredible dashboards I've built with Dashable. It just doesn't work without a stable network.
We'll cover the two main ways to get connected, depending on your situation:
- Desktop GUI Method: This is your best bet if you have the Pi hooked up to a monitor, keyboard, and mouse. It’s quick and visual.
- Headless Method: Perfect for when your Pi is destined for a life in an enclosure or behind a cabinet, with no screen attached.
Why a Solid Wi-Fi Connection Matters
The Raspberry Pi has evolved so much since it first appeared in 2012. I remember the early days when you had to hunt down a compatible USB Wi-Fi dongle just to get a wireless signal. Thankfully, those days are long gone.
Ever since the Raspberry Pi 3 came out in 2016, built-in Wi-Fi has been a standard feature. Today's boards, like the Raspberry Pi 5, even have dual-band 802.11ac Wi-Fi, capable of speeds up to 433 Mbps. It’s a game-changer.
With over 55 million of these boards sold worldwide, it's safe to say a huge number of them are running projects that live and die by their wireless connection. For a deeper dive into how the Pi's wireless tech has improved over the years, check out this great resource on Raspberry Pi's Wi-Fi capabilities on Satsignal.
This massive adoption just goes to show how critical a proper wifi setup raspberry pi process is. Whether you're building a simple weather station or diving headfirst into complex Raspberry Pi home automation projects, a dependable network link is where it all begins.
The Easiest Method: Using The Desktop GUI
If you've got your Raspberry Pi hooked up to a monitor, keyboard, and mouse, this is by far the most painless way to get it online. The whole process will feel incredibly familiar—it’s just like connecting any other computer to a Wi-Fi network, which makes it perfect if you're just getting started.
Personally, this is my go-to method for setting up a brand-new Pi. It lets me get all the initial updates and software installations out of the way before I move the Pi to its permanent, often headless, home. For instance, I'll use the desktop to prep a Pi that's destined to run a Home Assistant server, which will eventually display a slick smart home dashboard from Dashable.
Finding The Network Icon
Alright, let's get you connected. Look up at the top-right corner of your screen on the taskbar. You should spot a network icon—it might look like two little arrows pointing in opposite directions or the standard Wi-Fi signal bars.
Give that icon a click. A menu will drop down, showing you all the Wi-Fi networks your Pi can see.
Pro Tip: Not seeing any networks? The most common culprit is that the Wi-Fi country hasn't been set. The Pi's wireless radio stays off until you tell it which country you're in for regulatory reasons. You can set this in the Raspberry Pi Configuration tool.
Connecting to Your Network
Scan the list for your home network's name (its SSID) and click on it. A small window will appear asking for your password, which is technically called the pre-shared key (PSK).
Carefully type in your password and hit "Connect." You'll see the network icon animate for a few seconds as it tries to establish a connection. Once it's successful, the icon will change to a solid Wi-Fi symbol.
And just like that, you're online! Your Raspberry Pi is now connected to the internet and ready for whatever project you have in mind.
Headless WiFi Setup Before You Even Boot
For most of my long-term projects, running "headless" is the only way to go. This means no monitor, no keyboard—just a power cable and a reliable network connection. Setting up the Wi-Fi before the Raspberry Pi even boots for the first time is my secret to deploying projects smoothly and quickly.
This method is especially perfect when setting up a dedicated Home Assistant server. I can configure the network details, power it on, and know it will be ready to start feeding data to a beautiful, custom dashboard built with Dashable. The key is a special configuration file that the Pi reads on its very first startup.
Crafting The wpa_supplicant.conf File
The magic happens in a plain text file named wpa_supplicant.conf. You'll create this file on your computer right after flashing the Raspberry Pi OS image to your SD card. It tells the Pi exactly which network to join and the password to use.
Here’s the simple template I use for every single headless project:
country=US
ctrl_interface=DIR=/var/run/wpa_supplicant GROUP=netdev
update_config=1
network={
ssid="YourNetworkName"
psk="YourPassword"
}
This might look a bit technical, but it's really straightforward. The network block is where you’ll do your editing:
ssid="YourNetworkName": This is just the name of your Wi-Fi network. Pop it in between the quotes.psk="YourPassword": And this is your Wi-Fi password. Again, right between the quotes.country=US: Don't skip this one! It's essential for the Wi-Fi radio to work correctly and comply with local regulations. Make sure to changeUSto your two-letter country code.
This table breaks down the most common options you'll encounter in the wpa_supplicant.conf file.
wpa_supplicant.conf Configuration Options
| Parameter | What It Does | Example Value |
|---|---|---|
country |
Sets the two-letter country code for regulatory compliance. | GB (for Great Britain) |
ssid |
The name of your wireless network (Service Set Identifier). | "MyHomeWiFi" |
psk |
Your network's pre-shared key, or password. | "SuperSecret123" |
key_mgmt |
Specifies the security protocol. WPA-PSK is standard. | WPA-PSK |
priority |
Sets the connection priority if multiple networks are defined. | 5 |
While you only need the ssid and psk for a basic setup, knowing the others can be helpful for more advanced configurations.
The following graphic shows how this simple file editing process is the core of a headless setup.
This visualization highlights that the pre-boot configuration is a streamlined process focused entirely on getting one file right before you even apply power.
Once you’ve created and saved this wpa_supplicant.conf file, simply drag it into the root directory of the SD card, which should appear as a drive named "boot" on your computer. When you eject the card, insert it into your Pi, and power it on, it will automatically find this file and connect to your network.
After it's connected, you can find its IP address and access it remotely. For a secure connection, you'll want to use SSH, and our guide on generating a Linux SSH key can walk you through securing that remote access.
Setting Up WiFi From The Command Line
Sometimes, you just don't have a desktop environment. Maybe you're running your Raspberry Pi as a headless server, or you've moved it to a new location and need to get it back online without plugging in a monitor and keyboard. This is where the command line becomes your best friend.
Luckily, you don't have to go digging through obscure configuration files. The easiest way by far is to use raspi-config, the text-based utility that comes standard on Raspberry Pi OS. It’s a real lifesaver, offering a simple menu for tweaking all sorts of system settings, including Wi-Fi.
To fire it up, just open a terminal or SSH into your Pi and run sudo raspi-config.
Using Raspi-Config for a Quick WiFi Setup
Once you launch the tool, you'll be greeted by a blue screen with a list of options. It might look a bit old-school, but it's incredibly effective.
- Use your arrow keys to move down and select System Options.
- In the next menu, find and choose Wireless LAN.
- The tool will then ask for your network's name (the SSID) and then the password (the PSK).
Just type in your Wi-Fi details, hit OK, and raspi-config does all the heavy lifting for you. It writes the configuration to the right files, saves the settings, and tries to connect. I usually give the Pi a quick reboot afterward just to make sure everything sticks.
This command-line method is a must-know for remote management. Imagine a Pi running a smart home dashboard from a tool like Dashable. If it drops off the network, knowing how to reconnect it with SSH and
raspi-configsaves you the hassle of physically plugging into it.
Getting comfortable with this simple utility gives you the power to manage your Pi's network from anywhere. It's a fundamental skill that every serious Pi user should have in their back pocket.
Troubleshooting Common Connection Problems
Even with a perfect setup, sometimes the Wi-Fi just won't cooperate. A Pi that refuses to connect or keeps dropping its signal can bring any project to a screeching halt. Before you get too frustrated, let's walk through my go-to checklist for the most common Wi-Fi headaches.
These fixes are mission-critical for keeping things reliable, especially if your Pi is running something like a Home Assistant server. You absolutely need that constant uptime to feed data to your smart home dashboards, like the beautiful ones you can build with Dashable.
First things first, check the obvious. A simple typo in the Wi-Fi password is a shockingly common culprit. Also, double-check that you set the correct country code during configuration—the Pi’s radio often won't even power on without it.
The Power Management Problem
One of the most notorious issues behind unstable Wi-Fi on a Raspberry Pi is its own power management feature. By default, the system tries to save energy by putting the Wi-Fi adapter into a low-power mode, which, unfortunately, often leads to frustrating connection drops. Disabling this is one of the first things I do on almost every new Pi.
You can quickly test if this is the problem by running a single command in the terminal:
sudo iwconfig wlan0 power off
Keep in mind, this change is only temporary and will disappear after a reboot. But it’s the perfect way to diagnose if power management is the real troublemaker.
This one little trick has saved countless projects for me. If your Pi’s Wi-Fi seems to disconnect at random, especially when it’s been idle for a bit, aggressive power management is almost always the cause. It's a simple fix for a massive headache.
This isn't just my experience, either. Community discussions consistently point to power-saving quirks as a major source of connection problems on Raspberry Pi devices. Turning it off can dramatically improve stability, particularly for older Pi models. For a deeper dive, users on The Digital Picture Frame share how they’re improving Raspberry Pi Wi-Fi stability. This small tweak can be the difference between a flaky connection and a rock-solid one.
Your Raspberry Pi WiFi Questions Answered
Even with the best guide, you’re bound to run into a few specific quirks. I get asked about these all the time, so here are some quick answers to the most common WiFi hiccups you might face with your Raspberry Pi.
What if My Network Is Hidden?
If you don't broadcast your SSID for security reasons, it's not going to pop up in the standard list of available networks. No problem—you just have to tell your Pi where to look.
To connect, you'll need to manually edit your wpa_supplicant.conf file, even if you're using the desktop environment. Just pop open the file and add one simple line inside your network={} block: scan_ssid=1.
This command forces your Pi to actively hunt for that hidden network name instead of just passively listening for it. Once that's set, your Pi will reliably connect every time—which is absolutely essential when you need it to feed data to a smart home system and set up remote access to Home Assistant.
Which Raspberry Pi Models Support 5GHz?
This is a classic question. The good news is that all models from the Raspberry Pi 3 B+ onwards support dual-band WiFi. That means they can see and connect to both 2.4GHz and 5GHz networks. This includes the Pi 4, Pi 5, and the newer Compute Modules.
A 5GHz connection usually gives you a faster, more stable link since it's less crowded than the 2.4GHz band. It’s the way to go for anything that needs solid bandwidth, like streaming video or sending real-time sensor data to a clean dashboard from a builder like Dashable.
While most of us are using WiFi 5 or 6, the Raspberry Pi 5 has really pushed the envelope. Thanks to its new PCIe support, people are experimenting with WiFi 7 adapters. Some folks are hitting speeds over 1.8 Gbps, which is almost twice as fast as the Pi's own gigabit Ethernet port.
Sure, fewer than 1% of users have a setup like this right now, but it’s a stunning preview of what’s possible. If you're curious, you can explore the journey to 2 Gbps WiFi 7 on the Raspberry Pi 5 and get a glimpse of the future.
Ready to bring your smart home data to life? As a partner with yoyoKnows, Dashable lets you create stunning, intuitive dashboards for Home Assistant without writing a single line of code. Stop wrestling with YAML and start building the interface you've always wanted. Check out Dashable today and see how easy it can be.

