

Tired of bouncing between a dozen different streaming apps, trying to remember where that one movie you love is hiding? What if you could bring all your movies, TV shows, and music together in one clean, organized library, ready to stream to any device in your house—or even on the go? That's exactly what a personal media server does.
All it takes is a dedicated computer (an old PC or a Network-Attached Storage (NAS) device works great), some fantastic software like Plex or Jellyfin, and a little bit of your time. You get to build a central hub for all your content, liberating it from scattered hard drives and endless subscription fees. As a smart home enthusiast, building a media server is one of the most rewarding projects you can tackle, and I'll even show you how to manage it all from a beautiful dashboard.
Why Build Your Own Media Server
Let's be honest, the streaming world is a mess. Building your own media server is about taking back control. It’s about creating a single, automated home for your entire digital life, curated by you, for you. Forget monthly fees and content that disappears overnight.
I've been down this road myself, and I can tell you it's one of the most satisfying smart home projects you can do. You’re not just organizing files; you’re building a personalized, seamless entertainment experience that no commercial service can ever truly replicate because it's built around your collection. Plus, it integrates perfectly into a home automation setup.
More Than Just a Niche Hobby
This shift toward personal media hubs is happening everywhere. People are getting tired of the streaming chaos and want a better way to manage their own collections. The numbers back this up, too. The global market for media server software is already valued at around $2.5 billion in 2025 and is expected to climb to nearly $7.8 billion by 2033—that's a steady growth rate of 12% a year.
This boom is driven by the explosion of smart TVs, affordable NAS devices, and the simple desire for personal cloud storage. If you want to dig into the details, you can read the full research about media server market growth. It's clear this isn't just for tech enthusiasts anymore; it's becoming the go-to solution for anyone with a digital library.
What to Expect From This Guide
Over the next few sections, I'll walk you through everything, step-by-step. We'll start by picking the right hardware for your budget and needs, then dive into installing and configuring the best software out there. We’ll look at the big names—Plex and Jellyfin—and get you completely set up.
Think of this as building the central nervous system for your home's entertainment. And once we're done, I'll even show you how to create a slick-looking dashboard with a tool like Dashable to keep an eye on your new server. As a big fan of smart home dashboards, I use Dashable for my own Home Assistant setup, and it's perfect for this. Let's get started.
Choosing the Right Hardware for Your Needs
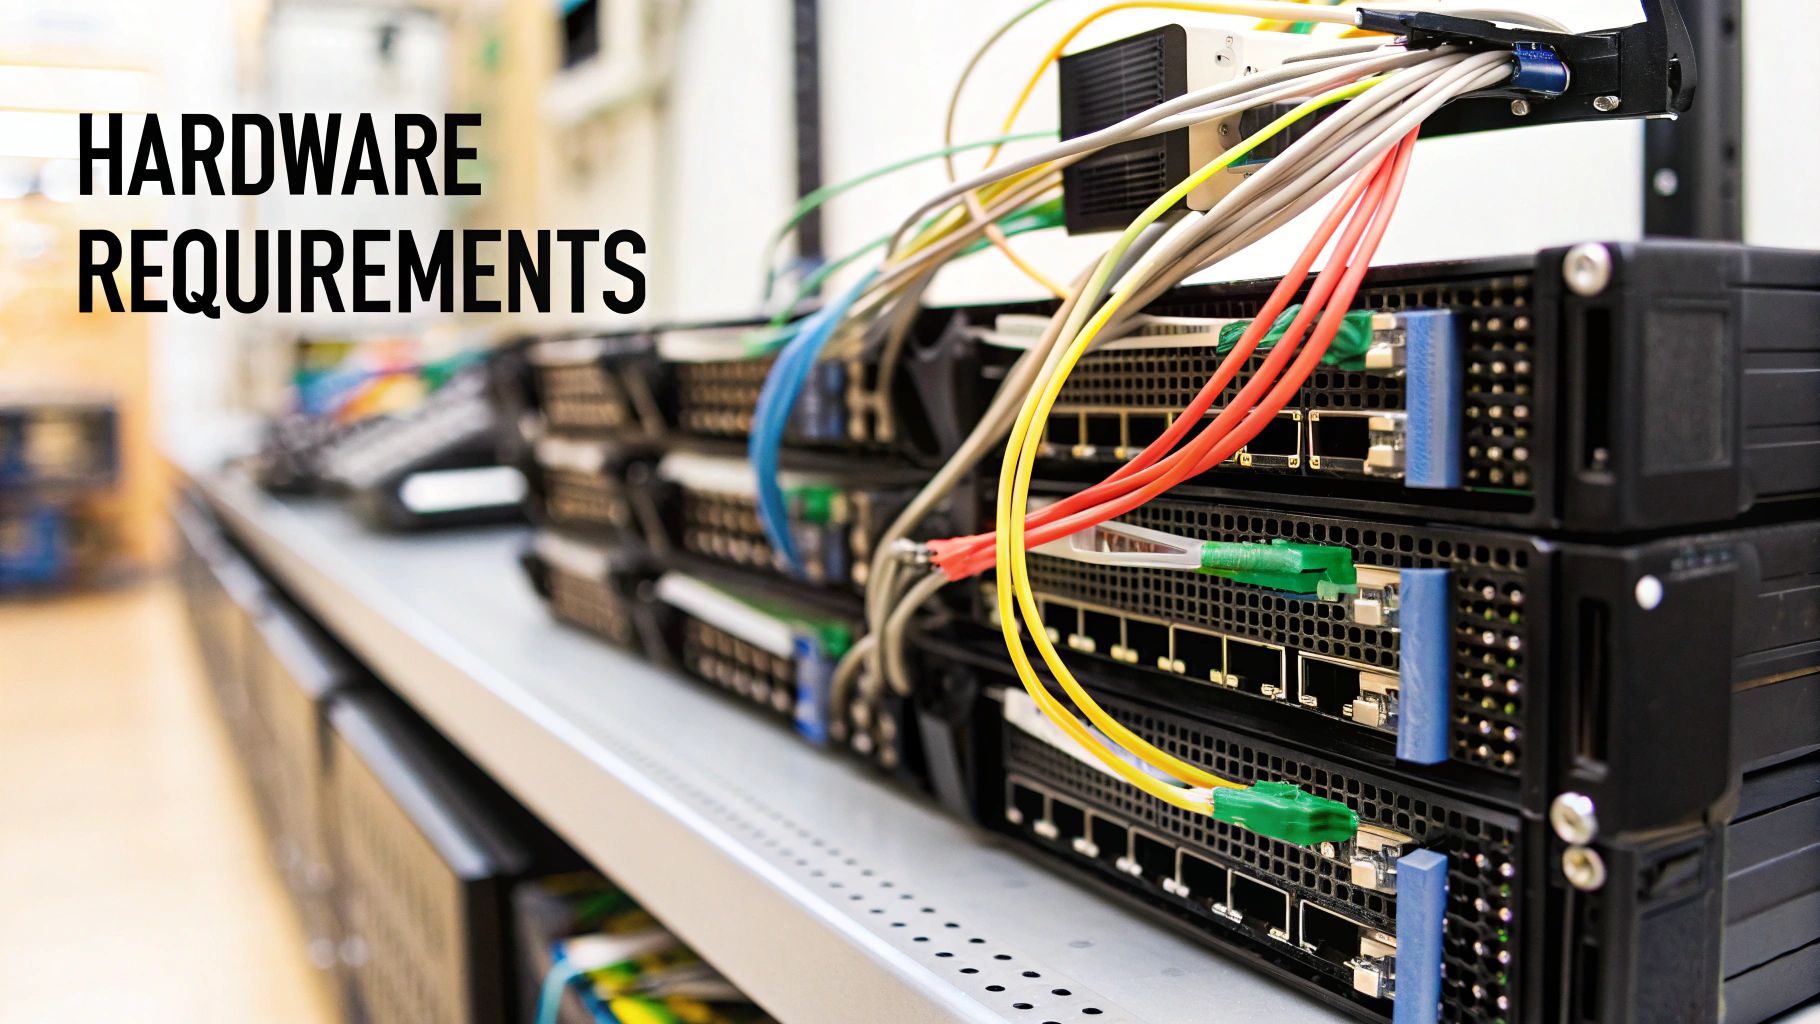
The heart of any great media server is the hardware it runs on. Your choice here will define everything from how quickly your library loads to whether you can stream a 4K movie without that dreaded buffering wheel. This isn't about throwing money at the most powerful rig you can find; it’s about making a smart, informed decision that aligns with what you actually want to do.
So, let's start there. Are you building a simple server for a single TV in your living room? Or are you the designated tech guru for a family that needs to handle multiple streams at once across different devices? Answering that question is the first step, as it will guide every decision that follows.
Finding Your Starting Point
When it comes to sourcing hardware, you’ve got a few fantastic options, each with its own pros and cons.
- Repurposing an Old PC: This is the ultimate budget-friendly move. That old desktop gathering dust in the corner can often be turned into a surprisingly capable server with little to no investment. It's the perfect entry point if you're just getting your feet wet.
- Buying an Off-the-Shelf NAS: A Network-Attached Storage (NAS) device from a brand like Synology or QNAP is a great plug-and-play solution. They are built for this exact purpose and usually come with easy-to-use software, though you sacrifice some of the flexibility of a custom build. For a more unconventional but compact alternative, some have even found success with modified Android TV boxes, a topic I explored in my Tanggula X5 Pro review.
- Building a Custom Machine: If you want maximum power, control, and scalability, nothing beats building it yourself. You get to hand-pick every component, creating a server that’s perfectly tuned for your media collection, transcoding needs, and future ambitions.
To help you decide, let's break down these choices.
Hardware Options for Your Media Server
Choosing between these options really comes down to your budget, technical comfort level, and long-term goals.
| Hardware Type | Best For | Pros | Cons |
|---|---|---|---|
| Repurposed PC | Beginners and budget builds. | – Extremely low cost – Good way to learn server basics |
– Potentially noisy and power-hungry – Older parts may lack modern features |
| Off-the-Shelf NAS | Users wanting a simple, reliable solution. | – User-friendly software – Compact and power-efficient |
– Limited upgradeability – Higher initial cost for performance |
| Custom-Built Server | Enthusiasts seeking performance and control. | – Total control over every component – Maximum performance and scalability |
– Requires research and assembly – Can be the most expensive option |
A repurposed PC is a fantastic, low-risk way to start, while a custom build is the ultimate destination for power users.
The Core Components: Processor and RAM
The Central Processing Unit (CPU) is your server's engine, and its most critical task for media is transcoding. This is the real-time process of converting a media file into a format that the playback device—be it your phone, tablet, or smart TV—can actually handle. If you plan on streaming 4K content, your CPU is going to be doing some heavy lifting.
This is exactly why many experienced builders gravitate toward Intel CPUs with Quick Sync Video. This is a dedicated media processing engine built right into the chip. It handles video transcoding with incredible efficiency, freeing up your main CPU cores for other tasks and making it possible to support multiple streams without breaking a sweat. It's a true game-changer.
Now, what about RAM? You might be tempted to load up on it, but more isn't always necessary. For a straightforward media server running something like Ubuntu Server or TrueNAS, 8GB of RAM is a solid starting point. If you plan to run a bunch of other applications in Docker or spin up virtual machines, bumping that to 16GB or 32GB will give you plenty of breathing room.
The need for capable server hardware is skyrocketing, especially for media-centric tasks. In fact, an in-depth analysis of the server hardware market projects the market will hit $366 billion in 2025, a massive jump of nearly 45% from the prior year. A big driver of that growth is the demand for servers with integrated GPUs—perfect for the real-time transcoding our media servers rely on.
Selecting Your Operating System and Software
With your hardware all put together, it's time to give your server its brain. Choosing the operating system and the software that will actually manage your media is just as important as picking the right CPU. This decision shapes everything from the initial setup to your day-to-day use and future maintenance.
Think of it this way: the OS is the foundation, and your media server app is the house you build on it.
Your OS choice really comes down to how you want to manage your storage and how much control you're after. In the home server world, there are three big players, each with its own philosophy.
- TrueNAS Core: Built on the legendary FreeBSD, TrueNAS is famous for its ridiculously powerful ZFS filesystem. If data integrity and protection against corruption are your absolute top priorities for a huge media library, this is your champion.
- Unraid: The big draw for Unraid is flexibility. It lets you mix and match hard drives of different sizes and add new ones as you go. This is a massive win if you plan to grow your storage over time without having to buy a full set of identical drives.
- Ubuntu Server: As a do-it-all Linux distro, Ubuntu Server is a blank canvas. It gives you total control to install pretty much anything you can imagine, making it perfect if you want to run more than just a media server.
Once you have your OS up and running, you'll want to keep tabs on its health and performance. If you go the Linux route, I've put together a guide on some essential Linux server monitoring tools that can really help.
The Heart of the Server: Plex vs. Jellyfin
Now for the fun part: choosing the application that will organize, beautify, and stream all your content. The two main contenders here are Plex and Jellyfin, and they appeal to slightly different crowds.
This visual gives you a good idea of the workflow. The key takeaway is that your media app choice is separate from the underlying OS, so you have the freedom to mix and match to create the perfect setup for your needs.
Plex is known for its slick, user-friendly interface and incredible device support. It's almost comically easy to set up, especially for remote access. Jellyfin, on the other hand, is 100% free and open-source, giving you total control and customization with no features hidden behind a paywall.
Plex vs. Jellyfin Feature Comparison
Deciding between the two can be tough, as they both do a fantastic job. This table breaks down the core differences to help you figure out which one aligns better with what you're looking for.
| Feature | Plex | Jellyfin |
|---|---|---|
| Cost | Freemium (core features free, advanced features require Plex Pass) | 100% Free and Open-Source |
| Setup | Extremely simple and guided, especially for remote access. | More manual configuration required, particularly for remote streaming. |
| Customization | Limited to official clients and settings. | Highly customizable, with various third-party clients and plugins. |
| Data Privacy | Requires a Plex account; some metadata is processed externally. | Self-hosted and private; no external account needed. |
Ultimately, there's no single "best" choice, only what's best for you. For most people just starting, Plex is the easier entry point. But if you value privacy, want total control, and don't mind a bit more tinkering, Jellyfin is a fantastic and powerful alternative. I've used both extensively, and you honestly can't go wrong with either one.
My personal take? Start with Plex. Get a feel for how a media server should work. If you later find yourself wanting more control or hitting a paywall for a feature you need, migrating your library over to Jellyfin is a pretty straightforward process.
Simplifying With Docker
No matter which OS or media app you land on, I can't recommend Docker enough. Think of Docker as a way to put your applications into little isolated boxes, or "containers," each with everything it needs to run.
This means you can install Plex, Jellyfin, and other server tools without them ever interfering with each other or messing with your main operating system.
Running your software in Docker containers makes updates unbelievably simple—it's often just a single command. It also keeps your whole system cleaner and more organized. It's just the modern, efficient way to manage a home server. It’s how I run my entire setup, including the Dashable dashboards I use to monitor everything at a glance.
Organizing Your Media Library Like a Pro
Now that your media server software is up and running, it's time for the fun part: organizing your library. Think of Plex or Jellyfin as a brilliant librarian. It can find anything in a snap, but only if the books are on the right shelves. A messy digital library is the fast track to mismatched artwork, wrong movie details, and missing TV episodes—the exact headaches we’re trying to avoid.
The whole point is to name your files and folders so consistently that the software can identify everything automatically. This "scraping" process is what pulls in all that gorgeous metadata—posters, plot summaries, cast info, and more. Trust me, getting this right from the beginning will save you from a world of manual-fixing-it-later pain.
Folder and File Naming Conventions
After years of tinkering with my own server, I’ve found a simple structure that just works. The most important thing is to separate your media into distinct top-level folders. A good starting point is creating separate directories for /Movies and /TV Shows. This simple step tells the scraper what kind of content to expect in each location.
From there, the naming logic is pretty intuitive:
-
For Movies: Give each film its own folder, named with the title and year of release. For instance, the file for Avatar should be located at
/Movies/Avatar (2009)/Avatar (2009).mkv. Adding the year is crucial for telling the difference between remakes or movies with identical titles. -
For TV Shows: Use a similar nested approach for seasons and episodes. A bulletproof structure would look something like
/TV Shows/Breaking Bad (2008)/Season 01/Breaking Bad - s01e01 - Pilot.mkv. ThatsXXeXXformat is the gold standard and practically guarantees a perfect match every single time.
A well-organized library isn't just about looking good; it's about automation. Taking a few minutes to name your files properly means your server does the heavy lifting, creating a beautiful, browsable collection all on its own.
Securing Your Server for Remote Access
One of the biggest perks of a home server is streaming your media from anywhere. But punching a hole in your network to allow outside access needs to be done carefully. The most common mistake I see is people directly opening ports on their router, a method known as port forwarding.
Just don't do it. Opening ports directly is the digital equivalent of leaving your front door wide open. It exposes services on your home network directly to the public internet, making them a juicy target for automated scans and attacks.
A far more secure way to handle this is with a reverse proxy. It acts as a smart, secure gateway for your network. It intercepts all incoming traffic and safely routes it to the right application, whether that's Plex, Jellyfin, or something else. This adds a critical layer of security, usually with SSL encryption to keep your connection private.
Tools like Nginx Proxy Manager or Traefik make setting this up surprisingly easy, even if you’re not a networking guru. This approach keeps your internal network completely private while still giving you secure, encrypted access to your media on the go.
Integrating Your Server with Your Smart Home
Having a dedicated media server is great, but the real fun begins when you weave it into the fabric of your smart home. When your server stops being just a box of files and starts talking to everything else, that's when you can create some truly magical automations.
Think about it. You sit down for movie night and press play in Plex. Instantly, the living room lights dim, the blinds lower, and the thermostat kicks into a cozier mode. This isn't science fiction; it's a straightforward setup once you link your server to a hub like Home Assistant.
Unlocking Automations with Home Assistant
First things first, you need to introduce your media server to Home Assistant. Luckily, both Plex and Jellyfin offer fantastic integrations that you can get running in just a few minutes.
Once connected, Home Assistant starts seeing what your server is doing in real-time. This opens up a whole new world of sensors and entities you can use, such as:
- Player Status: Is something playing, paused, or stopped on a specific device?
- Media Information: What exact movie or show is on screen right now?
- Recently Added: Get an alert the moment a new movie or episode lands on your server.
This data is the fuel for your automations. You could create a "Movie Time" scene that only kicks in when media starts playing on your main TV after 7 PM. Or, how about having a smart speaker announce, "The latest episode of Your Favorite Show is now available," as soon as it's ready? The possibilities are endless.
Building the Ultimate Control Center with Dashable
With your automations humming along, the final piece of the puzzle is a clean, simple interface to manage everything. For this, I personally use Dashable, a dashboard tool built from the ground up for Home Assistant. It’s a no-code way to build a beautiful control center, which you can check out for yourself at https://dashable.app.
I have a dedicated dashboard just for my media server. It's my go-to spot to monitor server health, see what's playing, and check system resources at a glance. With Dashable, I can easily create amazing dashboards for my home assistant setup.
Here’s a quick look at what a slick, modern dashboard built with Dashable can look like.
As you can see, you can pull together system stats, media player controls, and even smart home toggles into one unified view.
This kind of deep integration is exactly where the industry is heading. The home media server market hit roughly USD 4.5 billion in 2023 and is projected to more than double to USD 10.2 billion by 2032. That explosive growth isn't just about storage; it's about the demand for centralized media that plays nicely with the entire smart home ecosystem. You can discover more insights about the home media server market to see the full picture.
By combining your server with Home Assistant and a visual tool like Dashable, you elevate your project from a simple file repository to the true heart of your smart home’s entertainment system.
Of course, if you plan on accessing your dashboards or other services from outside your home, security is key. Using SSL is a must. If you're running your own setup, you can check out our guide on how to create a self-signed certificate to get your connections locked down.
Your Media Server Questions, Answered
Jumping into your first media server build can bring up a lot of questions. It's a big project, after all! I've been there. To help clear things up, here are answers to some of the most common things people ask when they're getting started.
What's This Going to Cost Me?
The beauty of a DIY media server is that the cost can be whatever you want it to be. It's incredibly flexible.
- Basically Free: Got an old PC or laptop gathering dust in a closet? You can probably press it into service as a media server. This is a great way to dip your toes in the water without spending a dime.
- A Solid Starter Build: If you're buying new parts, you can put together a really capable machine for $300 to $600. This will get you a modern, energy-efficient setup that can easily handle a few streams and other small tasks.
- The Powerhouse: If your goal is a beast of a machine with tons of storage, the ability to transcode multiple 4K streams, and run a bunch of other apps, you could be looking at a few thousand dollars.
My advice? Start with what you actually need. You don't need a monster server to start enjoying your own media library.
How Much CPU Power Do I Really Need?
This is a big one, and the answer comes down to a single, critical concept: transcoding.
Think of it this way: if your TV or phone can play the video file as-is, that's called Direct Play. The server just hands over the file, which takes almost no CPU power. A low-end processor is perfectly fine for this.
But what if your device can't handle the file's format or resolution? The server has to convert it on the fly, and that's transcoding. This is especially demanding when dealing with 4K video. For that, you'll want a more powerful CPU. A modern Intel chip with Quick Sync is a game-changer here, handling the heavy lifting with specialized hardware so the rest of your server stays fast.
Is Running a Media Server Even Legal?
Yep, it's totally legal. Software like Plex and Jellyfin are just tools for organizing and playing your personal media.
The key thing to remember is that you're responsible for the content itself. The server is meant for media you legally own—like movies you've ripped from your own Blu-ray collection.
Can I Watch My Stuff When I'm Not Home?
You bet. This is one of the absolute best perks. Both Plex and Jellyfin have excellent support for secure remote access. This means you can stream your entire library from anywhere you have an internet connection. On vacation, at a friend's place, or just waiting in line at the grocery store—your media is always right there with you.
Seeing all these pieces come together—the hardware, the software, the smart home tie-ins—is what makes a project like this so satisfying. And when you're ready to pull it all into one clean interface, a tool like Dashable is perfect for creating that slick control center. See for yourself how simple it is to build a beautiful dashboard at https://dashable.app.


