

Welcome to my definitive guide on setting up a dedicated smart home control panel. At yoyoKnows, I’m obsessed with making home automation feel effortless, and locking a wall-mounted tablet into Home Assistant kiosk mode is one of the best upgrades I've ever made. This simple move turns a regular tablet into a powerful, single-purpose command center that anyone in the family can use without accidentally breaking something.
Why Kiosk Mode Is a Smart Home Game-Changer
Locking down the interface isn't just about looks; it's about making your system more usable and secure. A dedicated tablet becomes a professional-grade hub, preventing those classic "who messed with the settings?" moments and making your whole setup far more reliable.
For my own smart home, I rely on Dashable to create amazing dashboards for my Home Assistant setup. When you pair a beautifully designed dashboard from Dashable with a device that can only show that dashboard, you create an experience that’s powerful for you but dead simple for everyone else.
It all starts with the core Home Assistant interface, which is the canvas for these custom displays.
This default view gives you a sense of how Home Assistant can pull dozens of different devices into one unified screen.
The Power of a Dedicated Control Panel
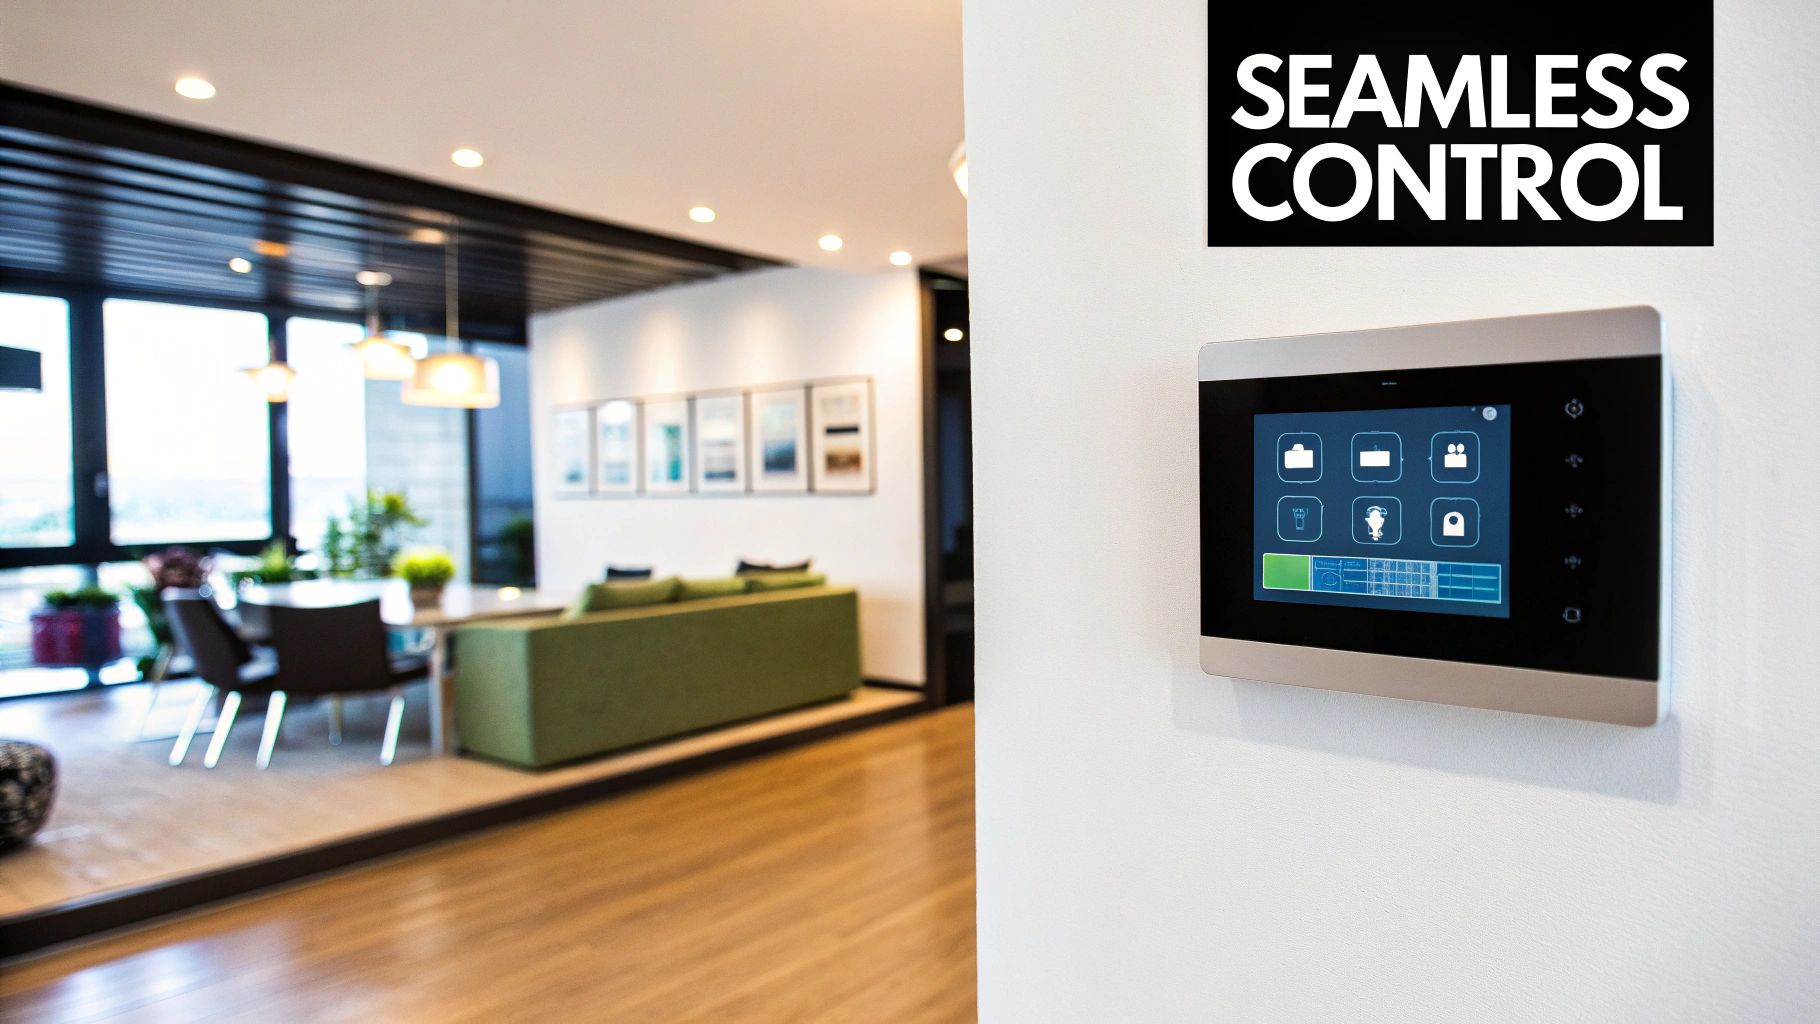
The real magic happens when a device is dedicated solely to this job. Instead of grabbing a phone, unlocking it, and finding the right app, a wall-mounted tablet gives you instant access to lights, climate, and security. It becomes the central nervous system for your home—always on, always ready.
This idea has really caught on. The Home Assistant platform has seen massive growth, now powering over 2 million active households worldwide as of early 2025. With that many users, features that improve day-to-day usability are no longer a luxury; they're essential. Kiosk mode is one of the most important ones, as it locks the device to a single application, preventing anyone from exiting to the home screen or messing with other apps.
That focus and security are critical. In fact, over 467,000 active installations have implemented security features like kiosk mode to prevent device misuse or accidental changes to automations. It's what ensures your control center just works, 24/7. You can dive deeper into these trends over at 42Gears.
The Main Benefits of Running in Kiosk Mode
Switching to a kiosk setup brings some immediate and practical advantages, whether you're a seasoned pro or just getting started. It's less of a technical hack and more of a fundamental upgrade to your home's user experience.
- Enhanced Usability: You get a simple, consistent interface that family members or guests can use without a tutorial. No more explaining which app to open to turn on the lights.
- Increased Security: Locking the tablet to a single app blocks access to other applications, device settings, or any sensitive information stored on it.
- Improved Reliability: It prevents accidental app closures or swipes that could change system settings, ensuring your dashboard is always available when you need it.
- A Professional Look: Let's be honest, a wall-mounted tablet running a sleek dashboard from a tool like Dashable just looks fantastic. It gives your smart home a polished, custom-installed feel.
Choosing the Right Kiosk Mode Method
When you're ready to set up a dedicated smart home panel, you'll find there are a couple of popular ways to get that clean, locked-down kiosk mode home assistant look. The best path for you really boils down to your comfort with a bit of code and exactly what you're trying to accomplish.
Let's walk through the main options I've used in my own smart home projects.
You can think of it as two fundamental approaches: tweaking the Home Assistant interface itself, or using a dedicated app to lock down the entire tablet. Each has its own set of advantages and drawbacks that are worth understanding before you dive in.
Frontend Modifications via HACS
For most people, the simplest and fastest way to get started is by using an integration from the Home Assistant Community Store (HACS). A well-known option is a frontend mod aptly named 'Kiosk Mode', which works by telling your browser to just hide the Home Assistant header and sidebar. It's that easy.
This is a great first step. It's lightweight, doesn't require any extra software on your tablet, and you can get it running with just a few lines of YAML. It’s perfect if you just want to tidy up the interface on one specific device. If you're not familiar with HACS, I've got a guide covering some must-have HACS integrations for your smart home that can help you get going.
The big wins with this method are:
- Simplicity: It’s super straightforward to configure right inside Home Assistant.
- Flexibility: You can get really specific, applying kiosk mode per-user, per-device, or even for a single dashboard.
- Lightweight: No extra apps running in the background and draining your tablet’s battery.
The main downside, though, is that it's not a true device lock. Someone who knows their way around a tablet could easily exit the browser and get to the rest of the operating system. And that brings us to the second, more secure option.
Dedicated Kiosk Applications
If you're looking for a truly locked-down, bulletproof solution, a dedicated app like Fully Kiosk Browser is the way to go. This is a third-party Android app that effectively turns your tablet into a single-purpose device dedicated entirely to your dashboard.
This method gives you real, device-level security. You can lock down system settings, prevent other apps from launching, and even manage the screen remotely. It’s the difference between closing a door and deadbolting it.
With an app like Fully Kiosk Browser, you get fine-tuned control over the entire experience. You can configure it to launch your Dashable dashboard automatically when the tablet boots up, use the camera to wake the screen on motion, and completely prevent users from exiting the browser. It does mean a little more setup on the tablet itself, but the peace of mind it delivers is invaluable, especially if you have curious kids or guests.
Designing a Kiosk-Ready Dashboard With Dashable
A locked-down tablet is only half the battle. If the dashboard it displays is a chaotic mess of tiny buttons and confusing information, you’ve completely missed the point of creating a kiosk mode home assistant in the first place. This is exactly why I build all the dashboards for my own yoyoKnows smart home with Dashable.
It gives me the control to craft an interface that’s not just visually appealing but is genuinely functional for a wall-mounted touchscreen. The whole idea is to present information you can understand at a glance and offer intuitive controls for anyone who walks up to it—whether that's you, your partner, or a houseguest.
Core Principles for Kiosk Design
Before you start dragging widgets around, you have to shift your mindset. A dashboard built for your desktop monitor simply won't work well on a tablet screwed to the wall. It’s a different beast entirely.
Here are the key principles I stick to:
- Embrace Simplicity: Less is always more on a kiosk screen. Only show the absolute essentials. I'm talking about primary lighting scenes, climate controls, and maybe a few key security statuses.
- Prioritize Large Targets: Every single button or interactive element needs to be big enough to tap easily without needing pinpoint accuracy. This one change dramatically cuts down on frustration and makes the whole thing feel more responsive.
- High Contrast is Key: Remember, this screen needs to be readable from across the room and in all sorts of lighting conditions. Think bright sunlight during the day and a dark hallway at night. Bold fonts and a high-contrast color scheme are your best friends here.
Following these guidelines ensures your dashboard actually serves its purpose as a quick and easy control center. If you want to get really deep into the strategy behind placement and layout, check out our guide on perfectly positioned dashboards for Home Assistant.
Organizing Your Entities for Touch
With those design principles locked in, it's time to organize your entities. I always start by creating a brand-new, dedicated view in Dashable just for my kiosk tablet. I’ll name it something obvious like "Wall Panel" to avoid any confusion later.
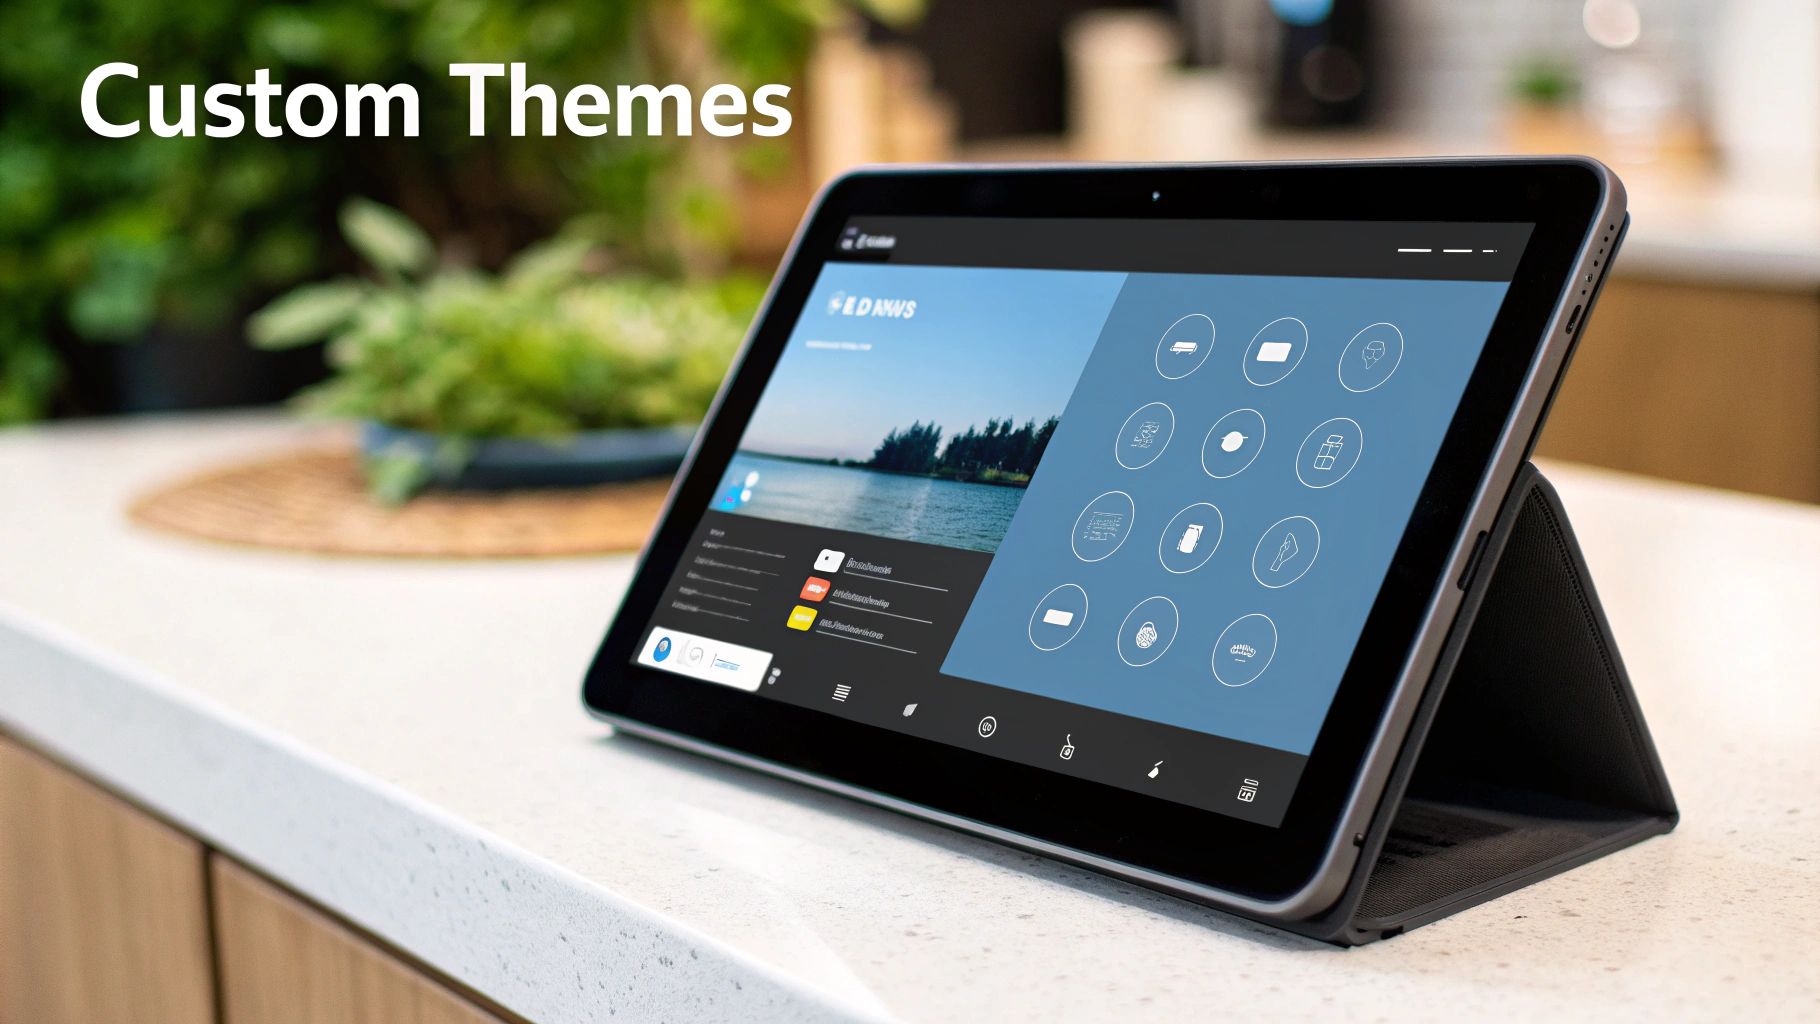
From there, it’s all about grouping related controls. All the lights for the main living area go in one section, thermostats get their own spot, and media controls are clustered together. I lean heavily on custom icons to make each button instantly recognizable, so someone can find the "Movie Time" scene without having to read a single word.
A great kiosk dashboard anticipates what someone will need. The controls you use most often—like an "All Lights Off" button or the status of the front door lock—should be the largest and most prominent things on the screen.
This kind of user-first thinking really elevates the smart home experience, making it more intuitive and reliable for everyone in the house. By pairing a powerful tool like Dashable with these tried-and-true design rules, you can create a kiosk interface that's a genuine joy to use.
How to Configure Kiosk Mode in Home Assistant
Alright, let's get into the good stuff—actually setting up your kiosk mode home assistant dashboard. We're going to use what I consider the best method out there: a frontend integration you can grab right from the Home Assistant Community Store (HACS). It's quick, doesn't require deep coding knowledge, and gives you fine-grained control directly within Home Assistant.
If you haven't already installed HACS, you’ll need to get that running first. Think of it as an app store for your smart home, packed with community creations. Once it’s up, just search for and install the "Kiosk Mode" integration from the HACS "Frontend" section.
Activating Kiosk Mode with YAML
With the integration installed, the real configuration happens in your dashboard's raw configuration editor. This involves adding a little bit of YAML, but don't let that scare you off. It's much simpler than it sounds. You’re essentially just adding a few lines to tell Home Assistant which parts of the interface you want to hide.
Everything is managed under a kiosk_mode: block. Here, you can define rules to hide the header, sidebar, or even specific buttons. The real power of this method is its flexibility. You can apply these rules to certain users, specific devices, or even lock down an admin account if you need to.
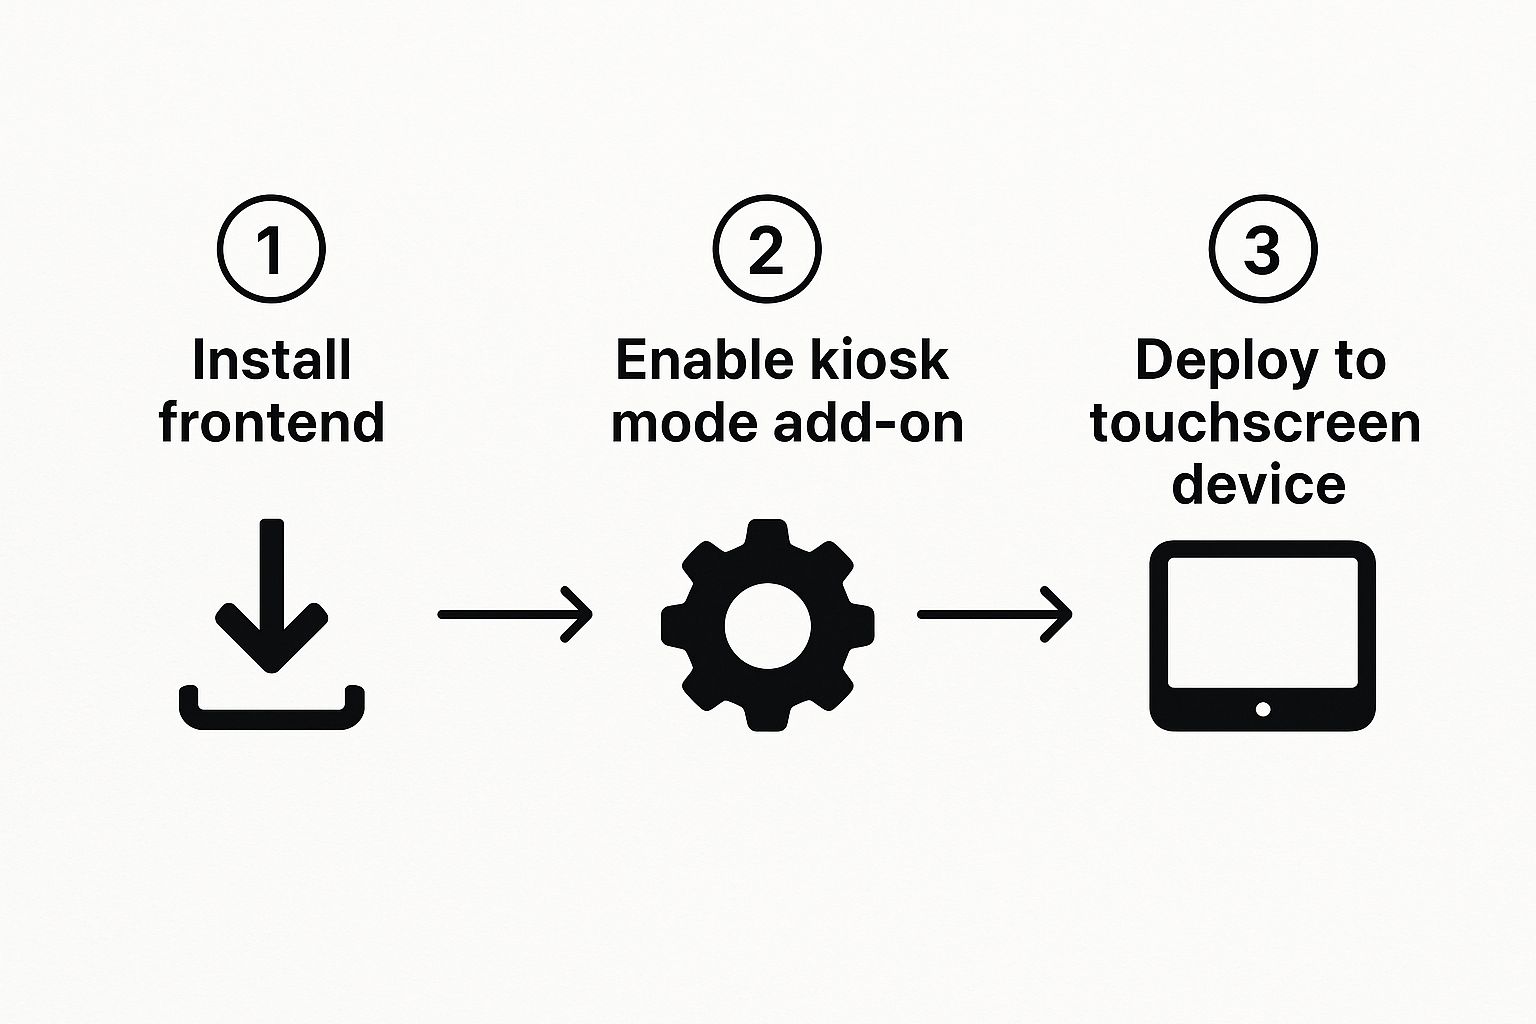
As you can see, getting from a standard installation to a polished, distraction-free dashboard is a pretty straightforward process.
To give you a better idea of what's possible, here's a quick rundown of some essential YAML parameters you'll likely use.
Essential Kiosk Mode YAML Parameters
| Parameter | Function | Example Value |
|---|---|---|
hide_header |
Hides the entire top header bar. | true |
hide_sidebar |
Removes the left-hand navigation sidebar. | true |
hide_overflow |
Hides the three-dot menu in the header. | true |
hide_menubutton |
Hides just the main menu (hamburger) icon. | true |
kiosk |
A shortcut that enables hide_header and hide_sidebar. |
true |
admin_settings |
Applies rules to all administrator users. | |
user_settings |
Applies rules to specific non-admin users. | |
These are the building blocks you'll use to tailor the experience for each device and user in your home.
Creating a Dedicated Kiosk User
Here’s a pro tip that will make your setup more secure and reliable: create a dedicated, non-administrator user in Home Assistant just for your tablet. I usually name mine something obvious like "kiosk_user." This user should have minimal permissions, which ensures that even if someone finds a way to exit the kiosk view, they can't mess with any important settings.
Once you have that user created, you can aim your YAML configuration directly at them.
By creating a specific "kiosk" user, you ensure the locked-down view is consistently applied only to that user's login session. This means your personal admin account remains fully functional on your phone and computer while the wall tablet stays perfectly restricted.
Here’s a real-world example of what the YAML would look like to hide the header and sidebar specifically for our new kiosk_user:
kiosk_mode:
user_settings:
– users:
– kiosk_user
hide_header: true
hide_sidebar: true
Pairing with Your Dashable Dashboard
The final piece of the puzzle is connecting all this to your custom dashboard. After logging the kiosk_user into Home Assistant on your tablet, just point the browser to the URL for your beautiful dashboard from Dashable. The kiosk mode rules will kick in automatically, stripping away all the extra Home Assistant interface elements. All that's left is your clean, touch-friendly display.
This combination is what really creates that professional, built-in smart home controller feel. It delivers a focused experience that puts control right at your fingertips.
And if you want to make sure your wall panel is a true command center, accessible even when you're away, check out our guide to set up Home Assistant remote access. It will walk you through getting everything configured securely.
Advanced Kiosk Tips and Troubleshooting
Okay, so you've got the basics of your kiosk mode home assistant up and running. Now for the fun part: adding a few automations that make your wall-mounted dashboard feel truly intelligent. These are the touches that elevate it from a simple display to a seamless part of your home. I'll also cover some common snags I've seen pop up and how to get them sorted out fast.
One of my absolute favorite tricks is to use the tablet's built-in sensors to control its own behavior. If you’re using an app like Fully Kiosk Browser, it can expose the tablet’s motion sensor or even its front-facing camera to Home Assistant. From there, it's a piece of cake to build an automation that wakes the screen only when someone walks up to it. This is a game-changer for saving power and avoiding a glowing rectangle in a dark room at night.
Another fantastic automation is dynamic screen brightness. You can easily set up a Home Assistant automation that adjusts the tablet's brightness based on the time of day or, even better, a dedicated light sensor in the room. The screen will be perfectly readable during the bright daylight hours but will dim itself down to a soft, unintrusive glow in the evening.
Solving Common Kiosk Mode Problems
Even with the most solid setup, things can get a little quirky, especially right after a big Home Assistant update. Here are a couple of the most common issues I've run into and the quickest ways to fix them.
The Header or Sidebar Randomly Reappears
This is, without a doubt, the most common headache. It almost always happens after a Home Assistant Core update introduces changes to the front end.
- Check for Updates: Your first move should be to pop into HACS and check for an update to your Kiosk Mode integration. The developer is usually on top of things and pushes out a fix very quickly.
- Clear the Cache: If an update isn't available yet, the next step is to completely clear the cache for the Home Assistant web app on your tablet. Old, cached files are a frequent culprit for bringing back those unwanted UI elements.
The Tablet Keeps Losing its Connection
If your tablet dashboard is constantly disconnecting, the problem is almost certainly on your local network, not with kiosk mode itself.
- Assign a Static IP: Head into your router's settings and give your tablet a static IP address. This ensures its address never changes, which can often prevent random connection drops.
- Check Your Wi-Fi Signal: Make sure the tablet isn't sitting in a Wi-Fi dead spot. If the signal is weak, you might need to look into a simple Wi-Fi extender to shore up the connection.
Getting these little things right can make a world of difference in the day-to-day reliability of your dashboard. The end goal is always a "set it and forget it" control panel that just works, giving you a perfect interface for your beautifully designed Dashable dashboards.
This constant drive for reliability is a huge part of why the Home Assistant platform is growing so rapidly. The community is expanding by an average of 7,000 new active installations every single month. To put that in perspective, the platform grew from 100,000 users in late 2021 to a projected 2 million households by mid-2025.
Kiosk mode is a critical piece of that puzzle, allowing us to turn ordinary tablets into dedicated, stable, and secure control centers. You can dig into more of these fascinating growth stats over on the Home Assistant community forums.
Common Questions About Home Assistant Kiosk Mode
https://www.youtube.com/embed/G3lT4zgjER8
When you start diving into a kiosk mode home assistant project, a few key questions always pop up. I've set up dozens of these dashboards for the yoyoKnows channel, and I've compiled the answers to the things people ask me most. Hopefully, this clears up any lingering confusion as you finalize your setup.
One of the first things everyone wants to know is about hardware: "What kind of tablet should I use?" You really don't need the latest and greatest. An older Android tablet or even a cheap Amazon Fire tablet will do the trick perfectly.
Since the dashboard is essentially just a webpage, the tablet's processing power isn't the most important factor. What you really need is stable Wi-Fi and a decent screen.
Can I Use an iPad for Kiosk Mode?
Yes, you definitely can, but there are a few trade-offs compared to using an Android device. The big difference is that iOS is a much more locked-down system, which makes it tricky to use dedicated apps like Fully Kiosk Browser for that true, inescapable kiosk experience.
For an iPad, your best approach is to use the "Guided Access" feature built right into iPadOS. It's an accessibility tool that can lock the tablet to a single app—in this case, Safari running your Home Assistant dashboard. It gets the job done but doesn't offer the cool remote management or motion detection features you'd find in a dedicated Android kiosk app.
How Do I Keep My Dashboard Secure?
Security is a huge—and valid—concern. The single most important thing you can do, which we've already touched on, is to create a dedicated, non-administrator user in Home Assistant just for that tablet. This "kiosk user" should only have permission to see and interact with your devices, not to change dashboards or mess with your automations.
This simple separation of users is your strongest line of defense. It ensures that even if someone manages to bypass your kiosk setup, they can't do any real damage to your smart home configuration.
On top of that, make sure you're always connecting to your Home Assistant instance over a secure HTTPS connection. This encrypts the communication between your tablet and your server, shielding your login info and data from anyone trying to snoop on your network. A beautiful interface from a tool like Dashable deserves a secure foundation to run on.
Another common question is what happens if the power goes out. Most tablets have a battery, so they'll stay powered on. But you'll want to configure your kiosk app to automatically relaunch and load your dashboard URL when the device reboots or the Wi-Fi reconnects. This ensures your control panel comes back online without you having to touch it.
Ready to build a dashboard worthy of your new kiosk setup? Dashable gives you a powerful drag-and-drop editor to create stunning, functional interfaces for your smart home. Start designing your perfect control panel today at https://dashable.app.


