

So, what exactly is a home assistant custom dashboard? Think of it as your smart home's command center, built by you, for you. It replaces the standard, one-size-fits-all interface with a personalized screen that puts your most-used devices and routines right at your fingertips. As a smart home creator at yoyoKnows, I've built countless dashboards, and I've found that using the right tools can make all the difference.
Why a Custom Dashboard Is a Game Changer
Let's be honest, the default Home Assistant dashboard gets the job done, but it’s not exactly inspiring. It feels a bit like a generic rental car—functional, but lacking any personality. A custom dashboard completely transforms that experience, making your entire smart home more intuitive and, frankly, more enjoyable for everyone in the house.
As someone who's been tinkering with Home Assistant for years on my channel, I can tell you the real magic happens when you can see and control everything from a single, well-designed screen. It’s the moment your setup graduates from a fun hobbyist project into a seamless, integrated part of your daily life. This is why I've partnered with Dashable, because they make creating these amazing dashboards incredibly easy.
Beyond the Basics of Home Automation
This push for personalization isn't just a niche interest anymore. As smart home adoption has grown to approximately 25-30% in major markets, people are starting to expect more than just basic on/off switches. In the Home Assistant community alone, over 60% of active installations have moved beyond the default Lovelace UI to create something custom. That’s a huge leap from just 40% a few years back. If you're curious about this shift, there are some great insights on how smart homes are evolving on YouTube.
This is exactly where a tool like Dashable shines. It takes the pain out of building these powerful dashboards. Instead of getting bogged down in YAML or complex code, you can focus on designing an interface that actually fits your life.
For me, a great dashboard isn't just about flicking switches—it's about clarity. I want to glance at a screen and instantly know if the doors are locked, see the day's forecast, and tweak the thermostat without digging through menus. That’s the true power of a personalized smart home, and it's what Dashable helps me achieve.
Ultimately, creating a home assistant custom dashboard is about changing how you interact with your home. You’re no longer just collecting a bunch of smart devices; you're building a cohesive system that genuinely makes your day-to-day life a little bit easier and more enjoyable.
Getting Your House in Order for a Flawless Dashboard
Before you even think about dragging and dropping widgets, a little prep work is non-negotiable. I've learned this the hard way. A truly great dashboard is built on a clean and organized Home Assistant setup. Think of it like prepping your ingredients before you start cooking—it makes the actual creative process so much smoother.

The absolute first thing you need to do is an entity audit. In Home Assistant, an "entity" is just about anything—a light, a sensor, a switch. When you first add a new device, it often gets a generic, unhelpful name like light.zwave_switch_01. Trust me, leaving it like that is a recipe for a massive headache down the line.
Tidy Up Your Naming Conventions
I can't overstate how important this is. A consistent naming convention will be your best friend. My personal system is to name every single entity based on its location and what it actually is. So, instead of a vague light.living_room_lamp, mine would be light.living_room_table_lamp.
That level of detail might seem like overkill, but it makes finding what you need completely painless when you’re building your home assistant custom dashboard with a tool like Dashable.
A messy entity list is like trying to find a specific screw in a junk drawer. Clean naming turns it into a perfectly labeled organizer. You’ll know exactly where everything is, making the dashboard build fast and, dare I say, fun.
This kind of logical structure is crucial for usability, especially if you're putting a tablet on the wall for the whole family to use. If you're interested in that, we've got a whole guide on setting up kiosk mode in Home Assistant.
Use Areas to Group Everything Automatically
Once your entities have sensible names, the next step is to assign them to their proper ‘Areas’ inside Home Assistant. An Area is just a room or a physical space—like "Kitchen," "Master Bedroom," or "Back Patio." This isn't just for appearances; it's an incredibly powerful organizational feature.
The Home Assistant team has been putting a lot of work into the dashboard experience lately. They even introduced an experimental Areas Dashboard that builds an entire interface for you automatically, just based on how you've assigned your devices to rooms. It's a fantastic starting point.
By sorting every entity into an Area, you’re doing more than just tidying up. You're setting the stage for more powerful tools. When you connect a dashboard builder like Dashable, it can tap into that Area information and automatically group your devices. This gives you an incredible head start on your layout. A few minutes of housekeeping here will save you hours of work later.
Building Your First Dashboard with Dashable
This is where your vision for a smarter home really starts to take shape. For a long time, building a truly home assistant custom dashboard meant you had to get your hands dirty with complex YAML files and slog through a pretty steep learning curve. Thankfully, those days are pretty much over, especially with tools like Dashable.
I’m going to walk you through how I build my own dashboards from scratch using Dashable. You'll see just how quickly you can go from a blank screen to a functional, beautiful interface that actually works for you and your family.
First things first, you need to connect Dashable to your Home Assistant instance. It’s a secure and simple process that uses a Long-Lived Access Token. You can generate one of these right inside Home Assistant under your user profile settings. Once that's done, Dashable immediately sees all the entities you so carefully organized earlier.
Starting with a Clean Slate
With the connection made, you’re looking at an empty dashboard—your personal canvas. The entire interface is visual, built around a drag-and-drop system that just makes sense. No code, no scripts, just your ideas.
I always recommend starting by mapping out your "Views." Think of a View as a separate page or tab within your dashboard. Instead of trying to cram every single switch and sensor onto one screen, it's far more practical to create dedicated Views for specific rooms or functions.
Here’s how I typically break mine down:
- Main Overview: My landing page. This is for critical, at-a-glance info like the weather, upcoming calendar events, and key security sensor statuses.
- Living Room: A dedicated spot for controlling all the media gear, lighting scenes, and the thermostat in that space.
- Security: This is my command center, aggregating all my door and window sensors, locks, and camera feeds in one place.
Creating these Views in Dashable is as easy as clicking 'Add View' and giving it a name and an icon. This simple step of organizing your layout is the foundation of a dashboard that feels effortless to use, not cluttered and overwhelming. If you need a little spark for your own layout, checking out a good Home Assistant dashboard template can give you some great ideas to get started.
The whole process really boils down to planning your layout, picking the right UI cards, and applying a theme that you like.
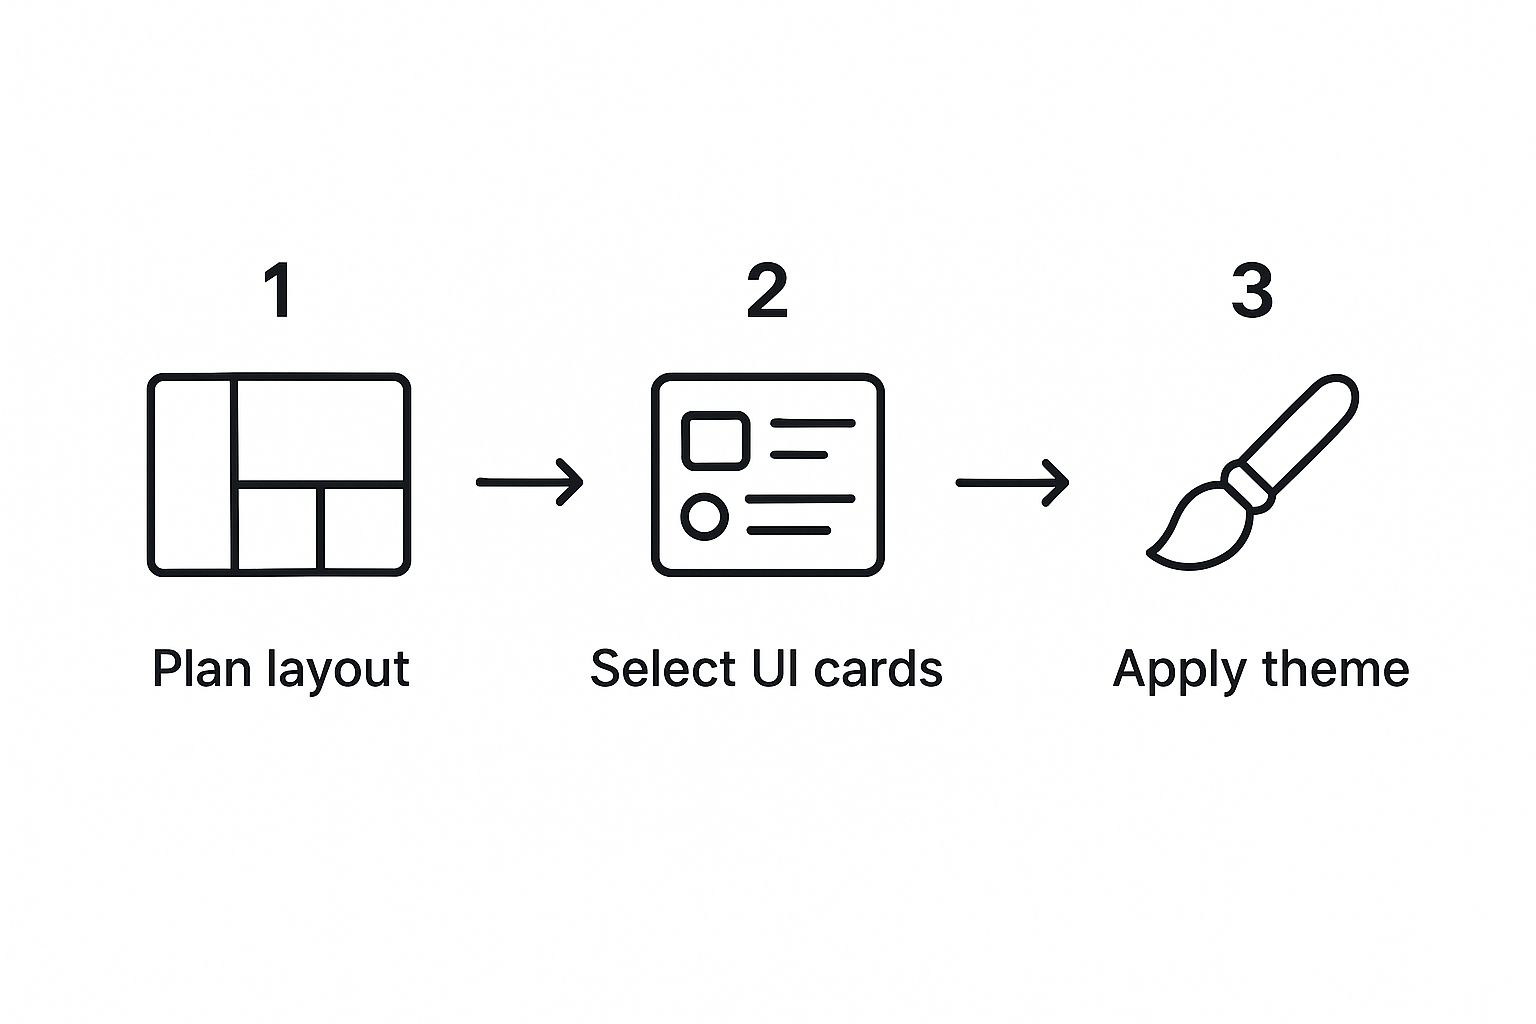
This flow really drives home the point that a great dashboard doesn't happen by accident. It’s the result of thinking things through before you even add your first widget.
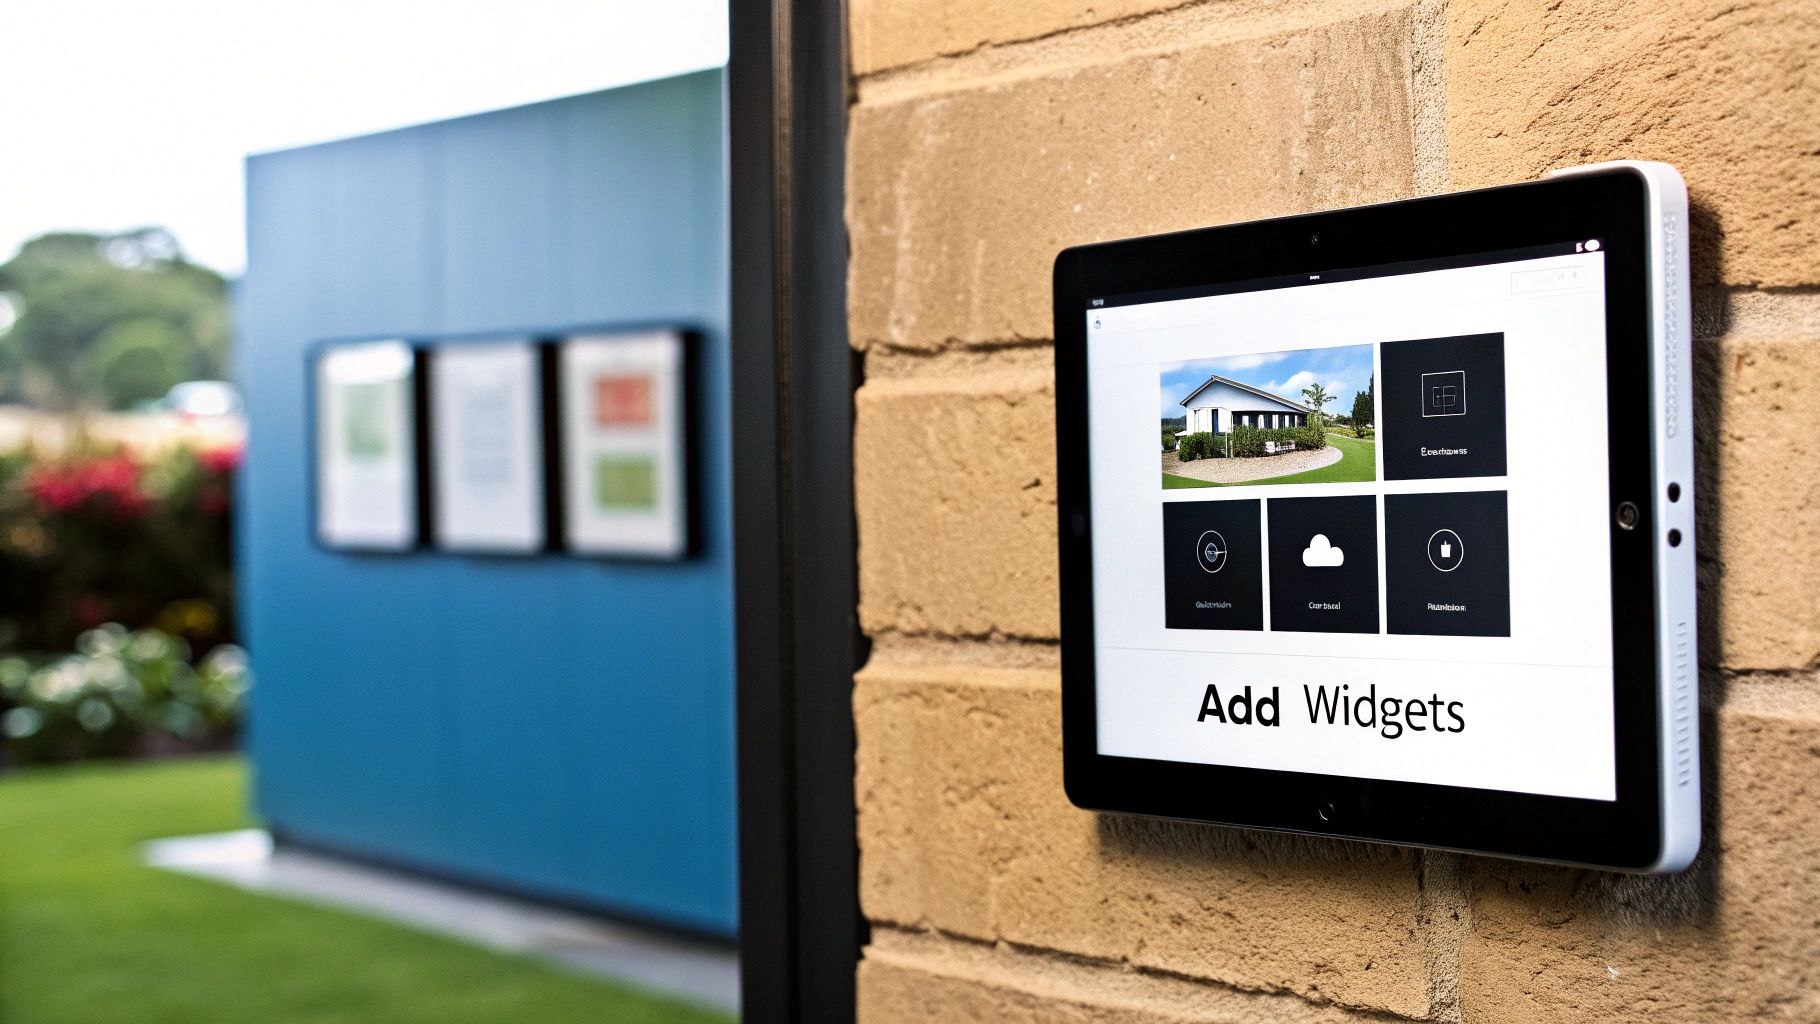
Adding Your First Widgets
Okay, now for the fun part: adding widgets (or 'cards' as they're often called). This is where the drag-and-drop magic of Dashable really shines. You just pick a widget type from the library, drag it onto your grid, and then tell it which entity from Home Assistant to connect to.
For my 'Main Overview' screen, I started with just a few essentials:
- Weather Card: I linked this to my primary weather entity to get the current temperature and a multi-day forecast.
- Light Cards: I added individual cards for key lights like the porch and entryway, giving me a quick way to toggle them on or off.
- Sensor Cards: I included cards to show the status of the front door lock and the garage door at a glance.
The feedback is instant. As soon as you drop a widget onto the layout, it populates with live data from your system. You can resize it, shuffle it around, and see exactly how it’s going to look and work without any guesswork.
One of the most common mistakes I see is people trying to display way too much data. Start with the absolute essentials. Ask yourself: what do I need to know or control 80% of the time? Build your dashboard around that, and you'll end up with something that's genuinely useful every single day.
This approach turns what used to be a daunting technical task into an enjoyable, creative process. You’re not just configuring software; you’re designing a personalized tool that will become a central part of how you interact with your home.
Essential Dashboard Widgets and Their Uses
To help you get started, it's useful to understand the core widget types available in Dashable and what they're best suited for. Choosing the right widget for the job is key to building a dashboard that is both functional and easy to read.
| Widget Type | Best For | Example Use Case |
|---|---|---|
| Toggle | Quick on/off control | Turning a single light or smart plug on or off. |
| Sensor | Displaying state information | Showing if a door is "Open" or "Closed," or the current temperature. |
| Graph | Visualizing data over time | Tracking your home's energy consumption over the last 24 hours. |
| Media Player | Controlling audio/video devices | Pausing your living room TV or adjusting the volume on a smart speaker. |
| Button | Triggering automations or scenes | Activating a "Movie Night" scene that dims the lights and turns on the TV. |
Thinking about your needs through the lens of these widget types will help you build out each View with purpose. You'll quickly find that a handful of these core widgets can cover the vast majority of your smart home control needs.
Advanced Customization and Pro Tips
Once you've got the basics down, it’s time to really unlock the potential of your home assistant custom dashboard. This is where we go beyond just displaying data and start building an interface that truly understands and reacts to what's happening in your home. These are the kinds of expert-level tweaks that will make your dashboard feel alive.
One of the most powerful features I use all the time is conditional cards. With a tool like Dashable, you can set up widgets that only pop up when a specific condition is met. This is a brilliant way to declutter your main view and only show information when it’s actually important.
A perfect real-world example is my laundry setup. I have a card that simply says, "Washing Machine Done!" but it stays hidden 99% of the time. It only appears at the exact moment the washing machine's status in Home Assistant flips to "finished." This is so much better than having a permanent widget eating up precious screen real estate.
Designing Dashboards for Different Users
Let's be honest: a one-size-fits-all dashboard rarely works for a whole family. What I need to see on my office computer is completely different from what my family wants on the kitchen tablet. This is where creating user-specific dashboards is an absolute game-changer.
My personal strategy is to maintain at least two completely different layouts:
- The Family Hub: This is the dashboard running on our wall-mounted tablet. It’s super clean, with big, easy-to-tap buttons for everyday things like lights, the thermostat, and a glance at the family calendar.
- The Power User View: This is my personal dashboard, synced to my desktop and phone. It's packed with data—detailed energy consumption graphs, server stats, and quick-access buttons for my more complex automations.
Setting up separate views like this in Dashable is incredibly simple. You can create multiple, independent dashboards under a single account, each one perfectly tuned for a specific person or device. It ensures everyone gets the info they need without being bogged down by controls they’ll never touch.
A classic mistake is designing a dashboard for yourself and just assuming everyone else will find it useful. Spend five minutes asking your family what they would want to see. You might be surprised to learn a simple weather forecast and calendar view is far more valuable to them than all your fancy charts.
Elevating the Visuals with Theming and Cameras
The final touches are all about aesthetics and creating that true command center vibe. A custom theme can completely transform the look and feel of your interface, helping it blend right into your home's decor. This is more than just a light or dark mode; you can specify your own custom colors for backgrounds, buttons, text, and more.
If you really want to get granular with the design, you can even explore adding custom fonts to your Home Assistant dashboard for a completely unique look. A custom font adds a layer of polish that makes the dashboard feel less like a generic app and more like a thoughtfully designed part of your home.
Finally, integrating live camera feeds turns your dashboard into a proper security hub. I have a dedicated "Security" view that pulls in the live streams from my outdoor cameras. There's something incredibly powerful about seeing a live look at the front door or backyard right inside your main control panel. It’s as easy as adding a camera widget and pointing it to the right camera entity from Home Assistant. These are the kinds of details that take your dashboard from a simple remote control to the intelligent heart of your smart home.
Working Through Common Dashboard Hiccups
Even with the best tools, you're bound to hit a snag every now and then. Building and maintaining a home assistant custom dashboard is a living project, and sometimes, things just don't behave as you'd expect. Don't worry—most issues are common and can be ironed out with a bit of systematic troubleshooting.
I can tell you from experience that a logical approach will get you through nearly any problem. Whether an entity has vanished or a layout suddenly looks like a mess, the key is to start with the basics. My goal here is to help you keep your dashboard reliable, responsive, and something you can actually count on every single day.
Diagnosing Unresponsive or Missing Elements
One of the most common headaches is a card that refuses to update or an entity that's completely gone missing. When this happens, it’s rarely a problem with your dashboard builder like Dashable. More often than not, the issue is closer to the source in Home Assistant itself.
Before you start tearing your layout apart, run through this simple checklist:
- Check the Entity State: Head straight into your Home Assistant instance. Go to
Settings > Devices & Services > Entitiesand find the entity in question. Is it showing the right state there? If it's "unavailable" or wrong in Home Assistant, your dashboard is just doing its job and showing you that reality. - Review Home Assistant Logs: Your logs are your best friend for digging into what's really happening. Look for any API connection errors or warnings tied to the misbehaving component or integration. This usually points you right to network hiccups or authentication problems.
A dashboard is only as good as the data it receives. If the information in Home Assistant is wrong, your dashboard will be too. Always check the source of truth first before you start messing with the display.
These two steps alone will often expose the root cause, saving you from the frustration of trying to fix a dashboard that was never broken in the first place.
Solving Layout and Update Issues
Sometimes the data is fine, but how it's being displayed is the problem. Layouts can get tricky, and occasionally a card might just stop refreshing. This isn't just a small annoyance; it can make you question the reliability of your entire smart home view.
The Home Assistant ecosystem itself isn't immune to bugs. For example, a while back, a bug in certain versions caused statistics-graph cards to stop updating automatically. This was a major headache for users who relied on those graphs for real-time data, and it's a perfect example of how critical dashboard stability is. You can even read the whole saga of how the community tackled this specific front-end issue on GitHub.
If you’re using a visual builder like Dashable, layout problems are usually much easier to solve. The drag-and-drop interface means you see changes as you make them, which makes it simple to spot which widget is causing the chaos.
A great trick is to move the problematic card to a brand-new, empty view all by itself. If it works there, the issue is likely an interaction with another widget on the original page. This kind of process of elimination is a powerful way to ensure your home assistant custom dashboard stays the flawless command center it's meant to be.
Frequently Asked Questions
When you're diving into building a home assistant custom dashboard, a few questions always pop up. I get these a lot on my channel, especially from folks trying out tools like Dashable for the first time, so let's clear them up.
Do I Need to Know How to Code to Build a Custom Dashboard?
Not at all. In fact, that’s one of the biggest reasons tools like Dashable exist in the first place. If you've ever wrestled with YAML to get a Home Assistant card just right, you know how frustrating it can be.
Dashable completely sidesteps that by giving you a visual, drag-and-drop experience. You can create some seriously sophisticated layouts without touching a single line of code. It’s built for people who want a powerful, clean interface without the headache of becoming a developer overnight.
Can I Have Different Dashboards for Different Devices or Users?
Yes, and you absolutely should! This is a pro-tip for making your smart home genuinely useful for everyone. With Dashable, creating multiple, totally separate dashboards is straightforward.
Think about it in real-world terms. You could have:
- A wall-mounted tablet dashboard with big, easy-to-tap buttons for lights and music.
- A personal phone dashboard packed with detailed sensor graphs and advanced controls.
- A guest or kid-friendly dashboard that only shows the basics, hiding more complex automations.
This way, everyone gets an experience designed specifically for them.
A key to a successful family smart home is making it accessible. Tailoring dashboards for different users—like a simple one for kids or guests and a detailed one for yourself—removes friction and makes the system more inviting for everyone.
How Secure Is My Data with a Third-Party Dashboard Tool?
This is a great question, and security should always be on your mind. Reputable tools like Dashable are designed with security as a priority. They connect to your Home Assistant instance using its own secure, built-in API.
The connection is authenticated using Long-Lived Access Tokens, which you generate and control from within your Home Assistant settings. You're essentially giving the dashboard specific permissions—like reading sensor data or turning on a switch—without ever handing over the keys to your entire system. It’s a standard, secure way for external applications to play nicely with your setup.
Will a Custom Dashboard Slow Down My Home Assistant Instance?
It really shouldn't. A well-built dashboard tool like Dashable is designed to be lean and efficient. It only queries the Home Assistant API for the data it needs to display and update, which keeps the communication overhead to a minimum.
Honestly, if you ever run into performance issues, the culprit is far more likely to be the hardware running your Home Assistant server or a setup with hundreds of entities all firing updates at once. The dashboard itself is rarely the bottleneck.
Ready to build the home assistant custom dashboard you've always wanted? As a proud partner, I highly recommend you check out Dashable and see how easy it is to create a stunning, intuitive command center for your smart home at https://dashable.app.


